
Cajun Beer Can Chicken Recipe (Juicy, Smoky & Full of Flavor)
Jul 17, 2024, Updated Mar 25, 2026
This post contains affiliate links. Please see our disclosure policy.
Quick Summary
In This Recipe
Make It Happen in Your Kitchen
Level up every recipe with my signature seasonings, cookware & bundles.
Beer Can Chicken Recipe by Mr. Make It Happen Introduction: There’s something so satisfying about grilling during the warmer months, isn’t there? The smell of charcoal, the sizzle of meat, and the anticipation of that...
Category: BBQ & Grilling, Chicken Recipes, Favorites | By: Matt Price, Mr. Make It Happen
Beer Can Chicken Recipe by Mr. Make It Happen
Introduction:
There’s something so satisfying about grilling during the warmer months, isn’t there? The smell of charcoal, the sizzle of meat, and the anticipation of that first bite of perfectly cooked chicken. If you’re looking to elevate your grilling game and impress your friends and family, look no further than the classic Beer Can Chicken recipe.
My Dad used to make beer can chicken a lot growing up (Idk if it’s because he loved beer or the particular recipe) – either way, it’s something that stuck with me through the years.
What is Cajun Beer Can Chicken?
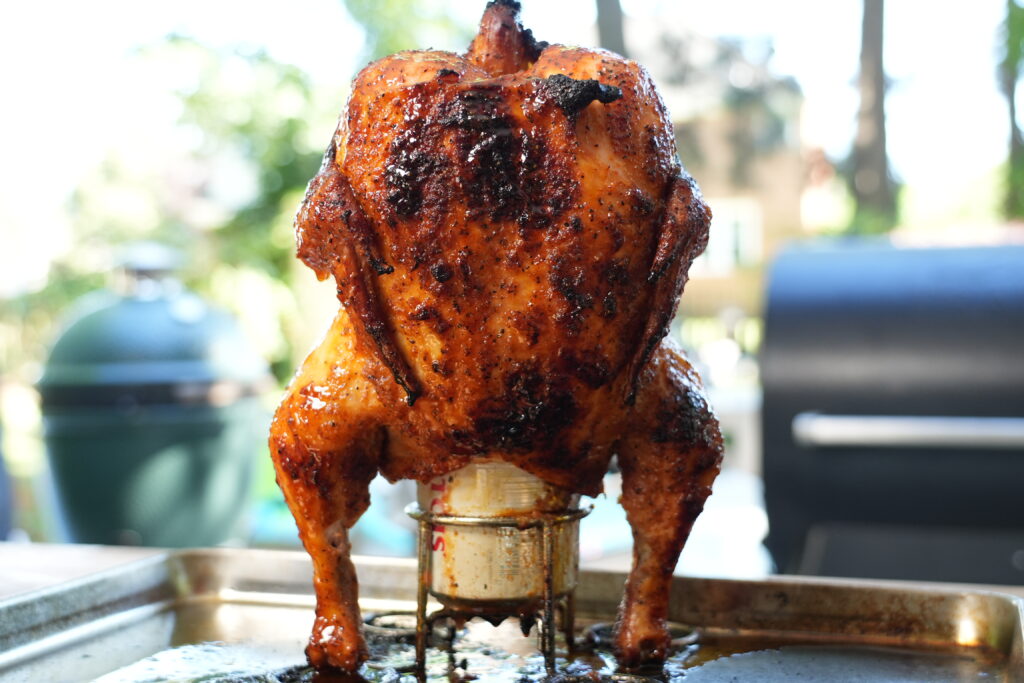
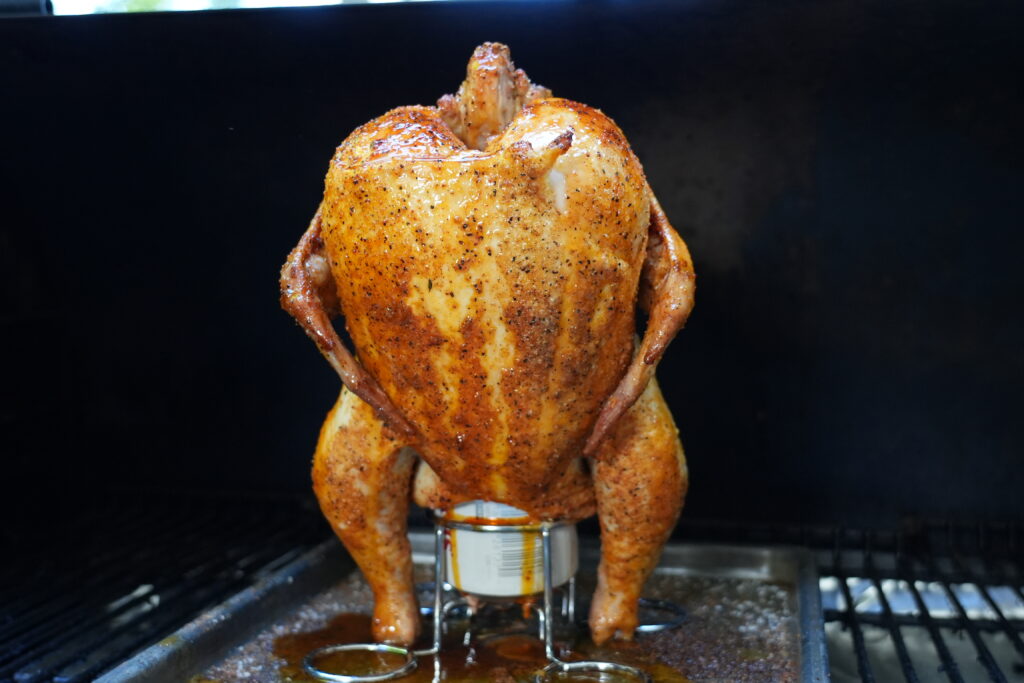
Beer Can Chicken, also known as Beer Butt Chicken, is a method of grilling chicken where a whole chicken is propped up on a partially filled can of beer (or other liquid) and cooked over indirect heat.
This technique not only infuses the chicken with moisture but also imparts a subtle flavor from the beer, resulting in tender, juicy meat with crispy skin.
Why Beer Can Chicken?
- Moisture and Flavor: The beer steams from the inside as it heats up, keeping the chicken moist throughout the cooking process. Additionally, the aromatics and flavors from the beer enhance the taste of the chicken.
- Even Cooking: By standing the chicken upright, it cooks more evenly, ensuring that both the dark and white meats are done at the same time.
- Impressive Presentation: Let’s face it—serving a whole chicken standing upright on the grill is visually impressive and makes for a great centerpiece at any backyard barbecue.
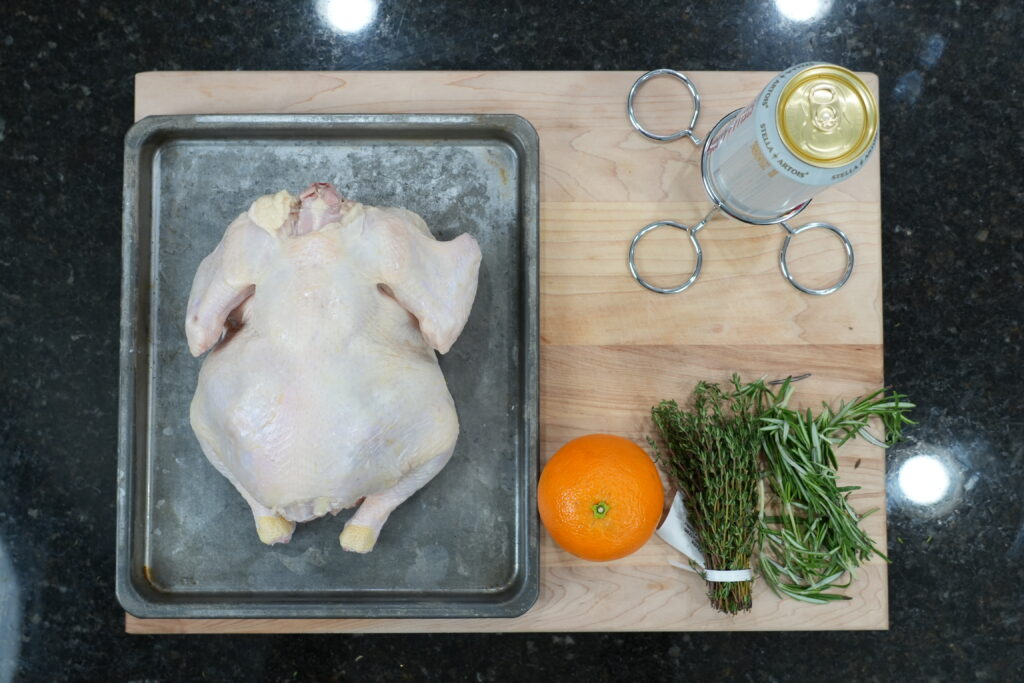
There are a few key components to this recipe that really bring the flavors home. For me, it’s the use of citrus (preferably orange), fresh herbs (rosemary and thyme), and a simple beer.. save the IPA’s and the expensive stuff for drinking.
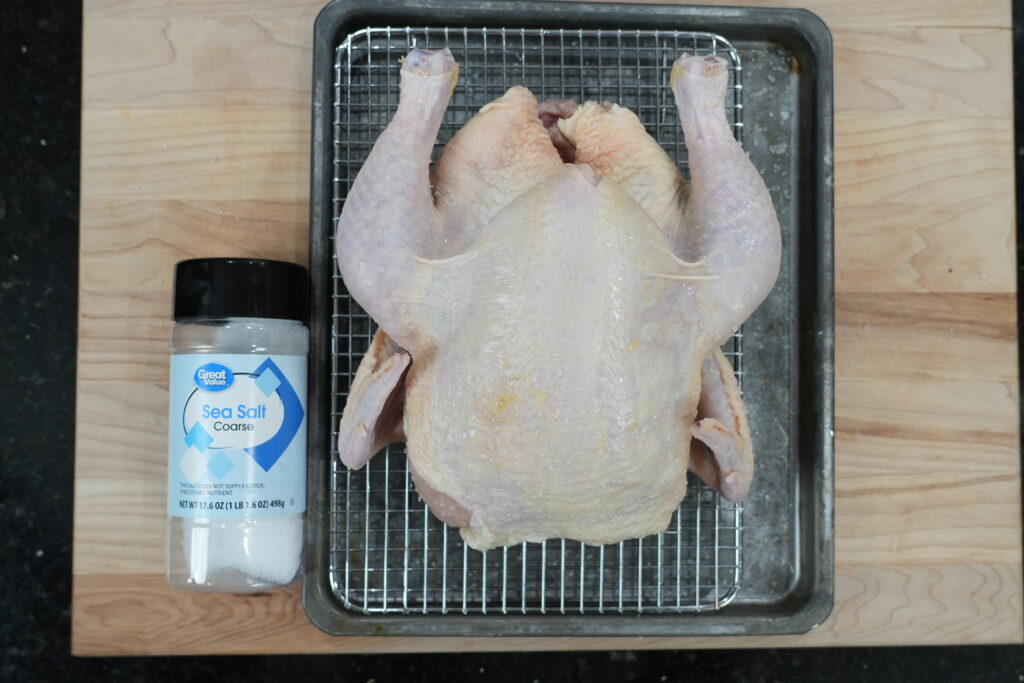
I like to start with a salt brine on the chicken if there’s time. You can season with whatever you prefer, but I usually just use salt for dry brining. Here is an example below.
A dry brine is a seasoning technique that involves rubbing the chicken with a mixture of salt and other seasonings, allowing it to rest uncovered in the refrigerator for a period of time before cooking.
This method enhances the flavor and juiciness of the chicken without submerging it in a liquid solution.
How to Prep & Apply a Dry Brine:
Here’s how to prepare and apply a dry brine for a whole chicken.
Ingredients:
- 1 whole chicken (3-4 lbs)
- 2-3 tablespoons kosher salt (adjust amount based on chicken size)
- 1-2 teaspoons of additional seasonings such as black pepper, paprika, garlic powder, dried herbs (rosemary, thyme, sage), or any other spices you prefer
Instructions:
- Prepare the Chicken: Remove any giblets from the chicken cavity and pat it dry with paper towels. This helps the dry brine adhere better to the surface of the chicken.
- Mix the Dry Brine: In a small bowl, combine the kosher salt with your chosen additional seasonings. Adjust the quantities based on your personal taste preferences and the size of the chicken.
- Apply the Dry Brine: Generously sprinkle the dry brine mixture all over the surface of the chicken, including inside the cavity and under the skin if possible. Use your hands to rub the mixture evenly onto the chicken, ensuring it is well-coated.
- Rest the Chicken: Place the seasoned chicken on a rack set over a baking sheet or in a shallow dish. It’s important to let the chicken rest uncovered in the refrigerator for at least 4 hours, but preferably overnight (8-12 hours). This allows the salt and seasonings to penetrate the meat and enhance its flavor.
- Cook as Desired: After the resting period, the chicken is ready to be cooked using your preferred method—whether roasting, grilling, or smoking. The dry-brined chicken will have absorbed the flavors of the seasoning mixture and will be more flavorful and juicy.
Tips for Dry Brining Success:
- Even Coating: Make sure to distribute the dry brine mixture evenly over the entire surface of the chicken for consistent flavor.
- Timing: Longer resting times, such as overnight, will yield the best results as the salt has more time to penetrate the meat.
- Flavor Variations: Feel free to customize the dry brine with your favorite herbs and spices to suit your taste preferences.
- Patience: Letting the chicken rest in the refrigerator uncovered allows the skin to dry out slightly, which helps to achieve crispy skin when cooked.
Dry brining is a straightforward yet effective method for enhancing the flavor and juiciness of a whole chicken. It requires minimal effort and yields delicious results, making it a popular technique among home cooks and chefs alike.
Whether you’re preparing a weekday meal or hosting a dinner party, a dry-brined chicken is sure to impress with its flavorful and tender meat.
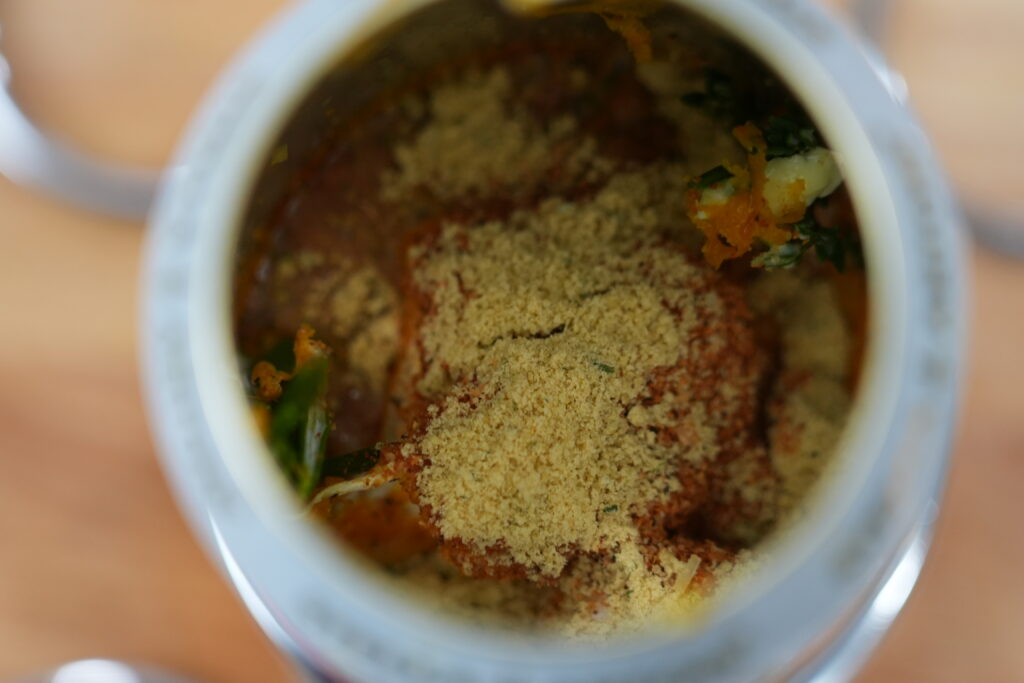
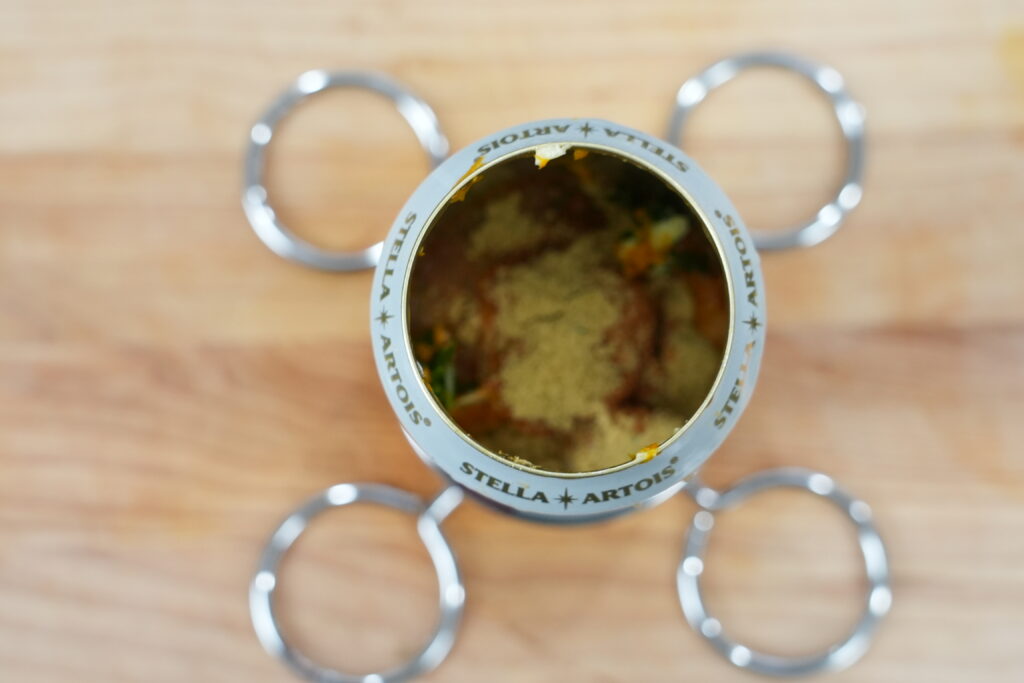
As for the beer, we only need ⅓ of the beer in the can (drink the rest! Lol). We will squeeze in some fresh orange juice and seasoning – along with the fresh herbs. Make sure the beer is room temperature (do not use cold beer)
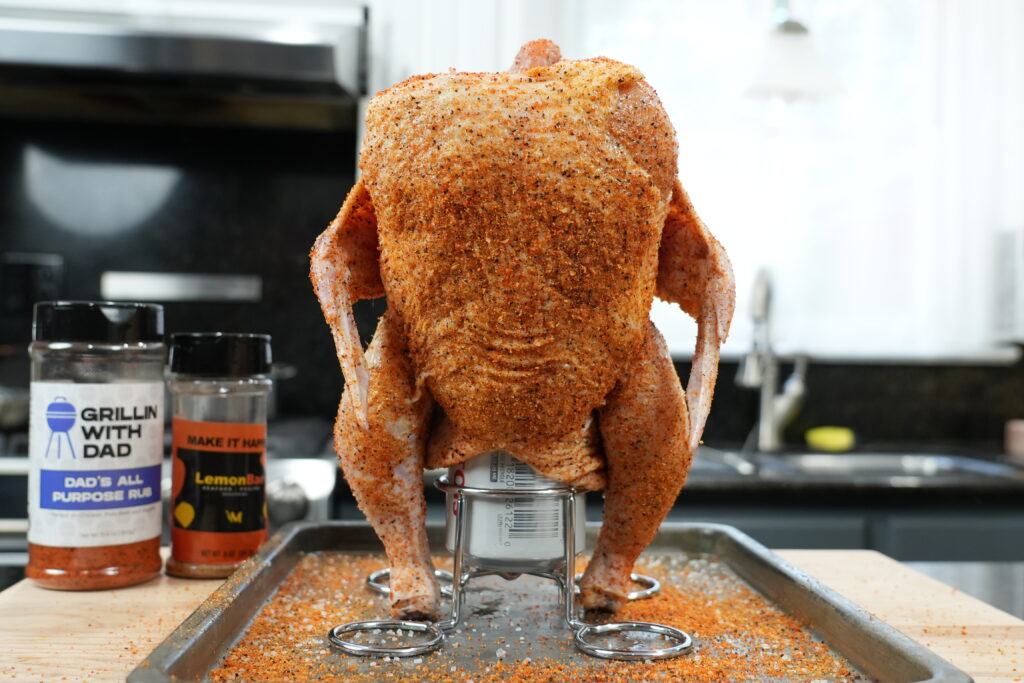
Season your chicken with whatever additional rub/seasoning you prefer and place it upon it’s throne.
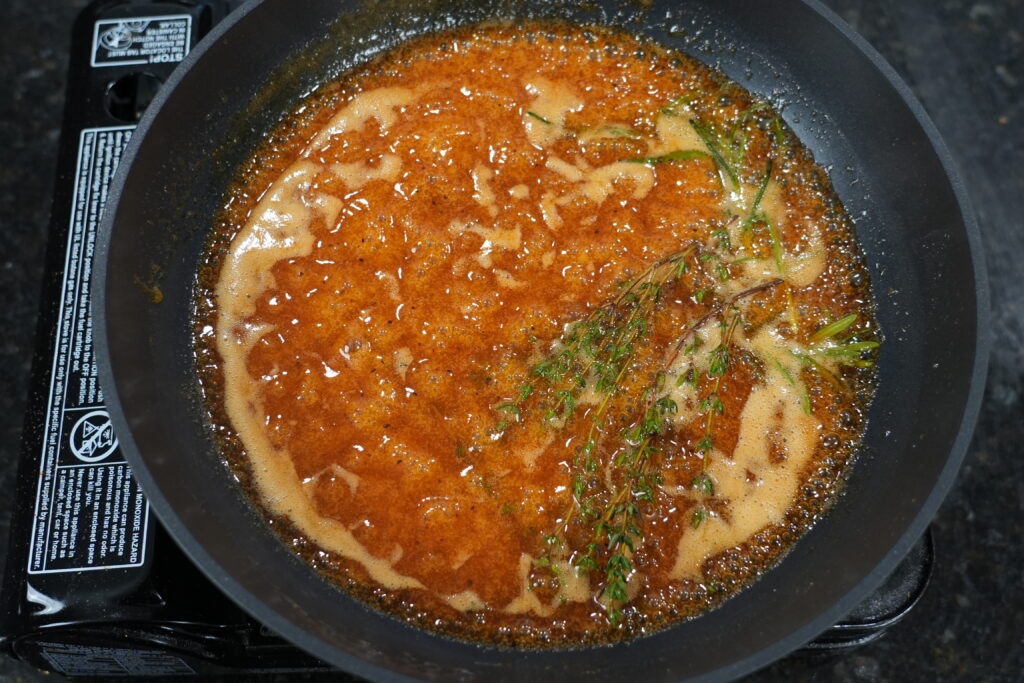
Next, to elevate the flavor even more, I like to make a little cajun honey butter. Simply melt 1 stick of butter, add ¼ cup of franks red hot sauce, ¼ cup of honey, cajun seasoning and fresh herbs. We will use this to baste the chicken periodically.
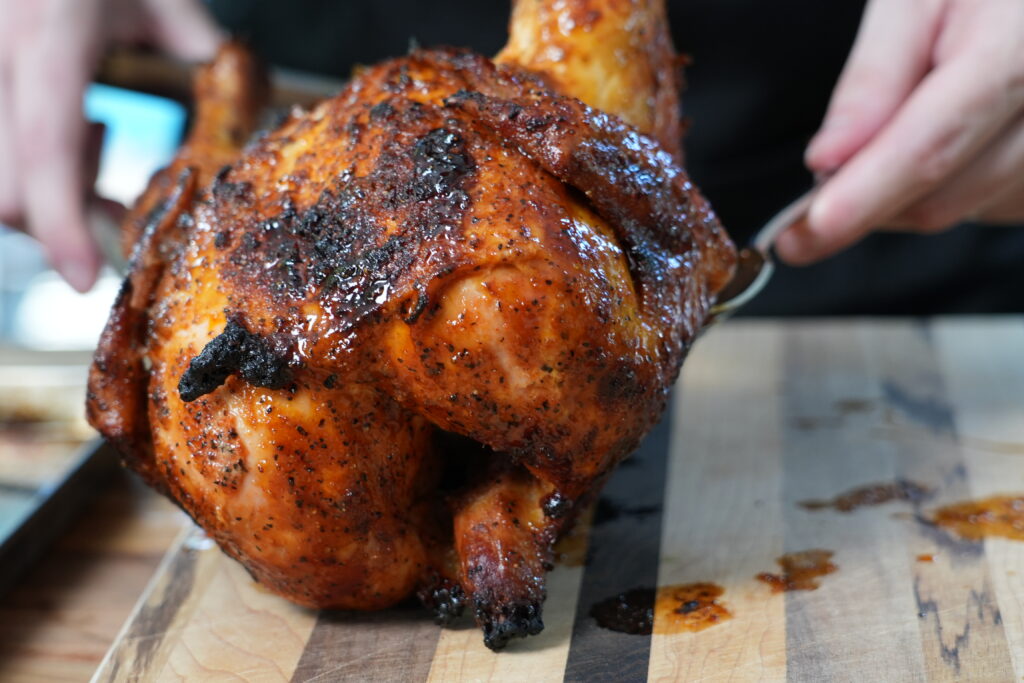
You want to cook your chicken until the internal temperature reaches 165 degrees F.
Tips for Success:
- Temperature Control: Use a meat thermometer to ensure the chicken is cooked through without overcooking.
- Flavor Variations: Experiment with different seasonings, rubs, or liquids (like cola or root beer) to customize the flavor to your liking.
- Safety First: Be cautious when handling the hot grill and the chicken—use oven mitts or heat-resistant gloves.
Conclusion:
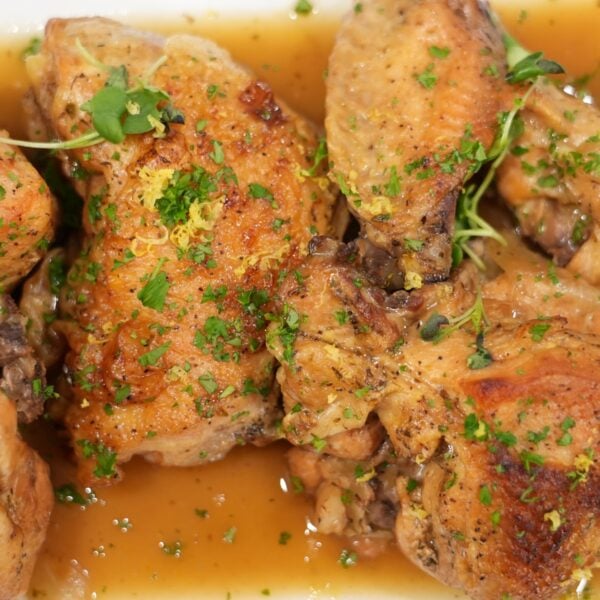
Beer Can Chicken is not just a recipe; it’s an experience. From the preparation to the presentation, it’s a fun and flavorful way to enjoy grilled chicken. So, fire up the grill, grab your favorite beverage, and get ready to impress with this delicious and juicy Beer Can Chicken recipe! Don't miss my garlic parm chicken wings for another delicious option. You might also love my how to make quick crisp chicken tenders with less than 10 ingredients.
Happy grilling!
Print & Download Beer Can Chicken Recipe
Love this recipe? You'll love my seasonings even more!
Level up your cooking with my signature AP Seasoning, Cajun Seasoning, and more.
Shop My Seasonings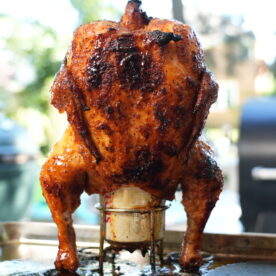
Beer Can Chicken
Happy grilling!
Equipment
Ingredients
- 5 lb whole chicken (1 chicken)
- 16 oz can beer room temp (1 beer)
- 1 stick butter
- 2 cloves of garlic add to the beer can
- 1 orange
- ¼ cup honey
- ¼ cup franks red hot sauce
- Fresh rosemary and thyme
- AP Seasoning Lemon bae, BBQ Rub, Cajun Seasoning
- Salt
Instructions
Dry Brining:
-
I like to start with a salt brine on the chicken if there’s time. You can season with whatever you prefer, but I usually just use salt for dry brining.
-
Prepare the Chicken: Remove any giblets from the chicken cavity and pat it dry with paper towels. This helps the dry brine adhere better to the surface of the chicken.
-
Mix the Dry Brine: In a small bowl, combine the kosher salt with your chosen additional seasonings. Adjust the quantities based on your personal taste preferences and the size of the chicken.
-
Apply the Dry Brine: Generously sprinkle the dry brine mixture all over the surface of the chicken, including inside the cavity and under the skin if possible. Use your hands to rub the mixture evenly onto the chicken, ensuring it is well-coated.
-
Rest the Chicken: Place the seasoned chicken on a rack set over a baking sheet or in a shallow dish. It’s important to let the chicken rest uncovered in the refrigerator for at least 4 hours, but preferably overnight (8-12 hours). This allows the salt and seasonings to penetrate the meat and enhance its flavor.
-
Cook as Desired: After the resting period, the chicken is ready to be cooked using your preferred method—whether roasting, grilling, or smoking. Cook until the internal temperature reaches 165 degrees Farenheit. The dry-brined chicken will have absorbed the flavors of the seasoning mixture and will be more flavorful and juicy.
Beer Can Prep:
-
As for the beer, we only need ⅓ of the beer in the can (drink the rest! Lol). We will squeeze in some fresh orange juice and seasoning – along with the fresh herbs. Make sure the beer is room temperature (do not use cold beer)
-
Season your chicken with whatever additional rub/seasoning you prefer and place it upon it’s thrown.
-
Next, to elevate the flavor even more, I like to make a little cajun honey butter.
-
Simply melt 1 stick of butter, add ¼ cup of franks red hot sauce, ¼ cup of honey, cajun seasoning and fresh herbs. We will use this to baste the chicken periodically.
Notes
- Temperature Control: Use a meat thermometer to ensure the chicken is cooked through without overcooking.
- Flavor Variations: Experiment with different seasonings, rubs, or liquids (like cola or root beer) to customize the flavor to your liking.
- Safety First: Be cautious when handling the hot grill and the chicken—use oven mitts or heat-resistant gloves.
Nutrition
Never miss a recipe! Follow Mr. Make It Happen on Google News
Follow on Google NewsEquipment & Tools Used In This Recipe
As an Amazon Associate I earn from qualifying purchases.


Thanks for this recipe!