
This post contains affiliate links. Please see our disclosure policy.
Quick Summary
Garlic Parm Chicken Wings w/ Homemade Blue Cheese Dressing by Mr. Make It Happen Introduction Hello, fellow food lovers! If you're looking for a flavor-packed, crispy, finger-licking good chicken wing recipe that’s sure to impress,...
Category: BBQ & Grilling, Chicken Recipes | By: Matt Price, Mr. Make It Happen
Make It Happen in Your Kitchen
Level up every recipe with my signature seasonings, cookware & bundles.
Garlic Parm Chicken Wings w/ Homemade Blue Cheese Dressing by Mr. Make It Happen
Introduction
Hello, fellow food lovers! If you're looking for a flavor-packed, crispy, finger-licking good chicken wing recipe that’s sure to impress, you’ve come to the right place.
These Garlic Parmesan Fried Chicken Wings are made even better with my Seasoned Flour, ensuring every bite is crispy, savory, and bursting with flavor. And to take it over the top, we’ve paired them with a creamy, homemade blue cheese dressing that will have you dipping (and dunking) with pure joy.
Ready to get cooking? Let’s dive in!
Mr. Make It Happen
All-Purpose Flour
Why Use Buttermilk Brine for Chicken Wings?
If you've ever wondered why buttermilk is often used to marinate chicken wings, you're not alone! Buttermilk is a secret ingredient in many kitchens, and for good reason. It does wonders for flavor, texture, and juiciness. Here’s why it’s a great choice for brining chicken wings:
1. Tenderizes the Meat
Buttermilk’s mild acidity helps break down proteins in the chicken, making the meat more tender and juicy. The acids in buttermilk gently soften the muscle fibers, which results in a more succulent and tender wing after frying. Without this step, your chicken might turn out tough or dry, especially if you're deep-frying.
2. Adds Flavor
Buttermilk is slightly tangy, and this tanginess infuses the chicken with flavor while it marinates. Unlike a plain water brine, which might leave the meat relatively flavorless, buttermilk imparts a delicious, subtle acidity that balances the richness of the fried wings. The natural tanginess pairs beautifully with the savory, garlicky, and cheesy elements you'll later add to the wings.
3. Helps the Coating Stick
When you soak your chicken wings in buttermilk, the milk proteins coat the skin, giving the flour or breading something to adhere to. This means your seasoned flour or batter will stick more easily and evenly, creating that crisp, crunchy exterior we all love. The buttermilk essentially acts as an "adhesive" for the coating, ensuring every bite is full of flavor and crunch.
4. Keeps the Wings Juicy
Frying chicken can sometimes lead to dry meat if not done right. The buttermilk helps lock in moisture, so the wings stay juicy on the inside even as they become crispy on the outside. This is especially important if you’re frying at a high temperature, which can sometimes dry out the meat.
5. Softens the Skin
If you love a crispy, golden skin on your wings (and who doesn’t?), soaking in buttermilk helps achieve this. The enzymes and lactic acid in buttermilk not only tenderize the meat but also soften the skin. This allows the skin to fry up nice and crisp without becoming rubbery or overly tough.
6. Enhances Browning
The mild acidity in buttermilk helps promote even browning of the wings as they fry, resulting in that gorgeous golden color we all associate with perfectly fried chicken. Plus, the slight tang from the buttermilk can balance out the deep-fried flavor, adding complexity to the dish.
7. Prevents Over-seasoning
When you brine chicken wings in buttermilk, you're allowing the chicken to absorb some of the seasoning without it becoming overwhelmingly salty. The buttermilk acts as a buffer, gently infusing the chicken with flavor, but not allowing the seasoning to overpower the natural taste of the meat.
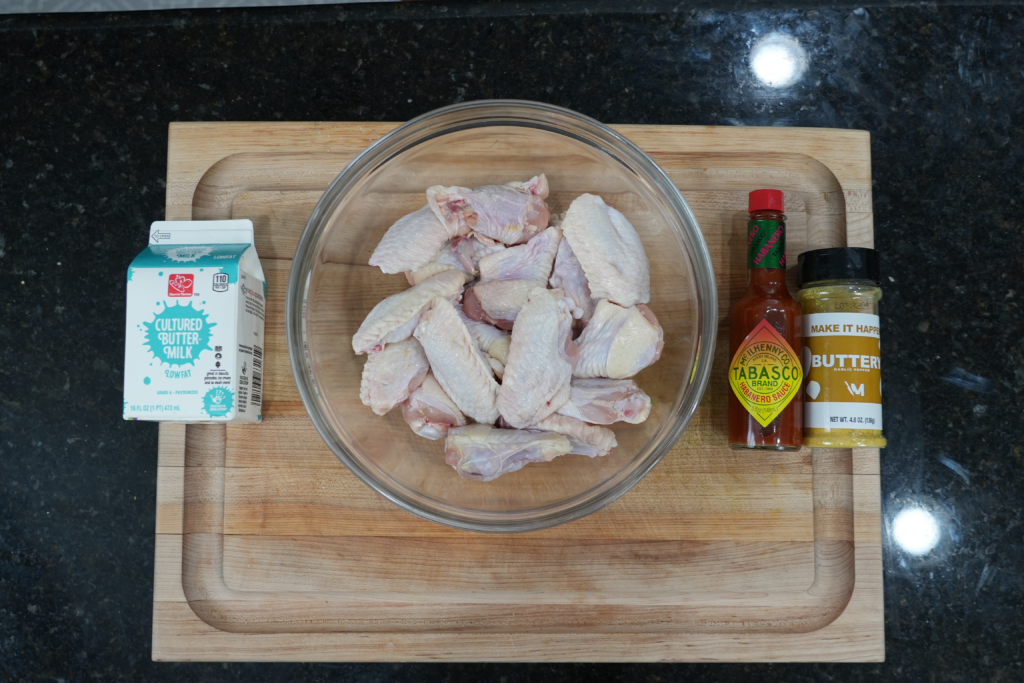
First things first, let’s soak the chicken in some buttermilk, hot sauce, and my new Buttery Garlic Pepper seasoning *feel free to use whatever seasoning you prefer*
Prep the Chicken Wings
Start by prepping your wings. Pat them dry with paper towels to ensure the coating sticks well. Then, pour the buttermilk into a bowl, and add the chicken wings. Let them soak for about 30 minutes to an hour. The buttermilk helps tenderize the chicken and ensures that the beautifully crisp coating sticks perfectly when fried.
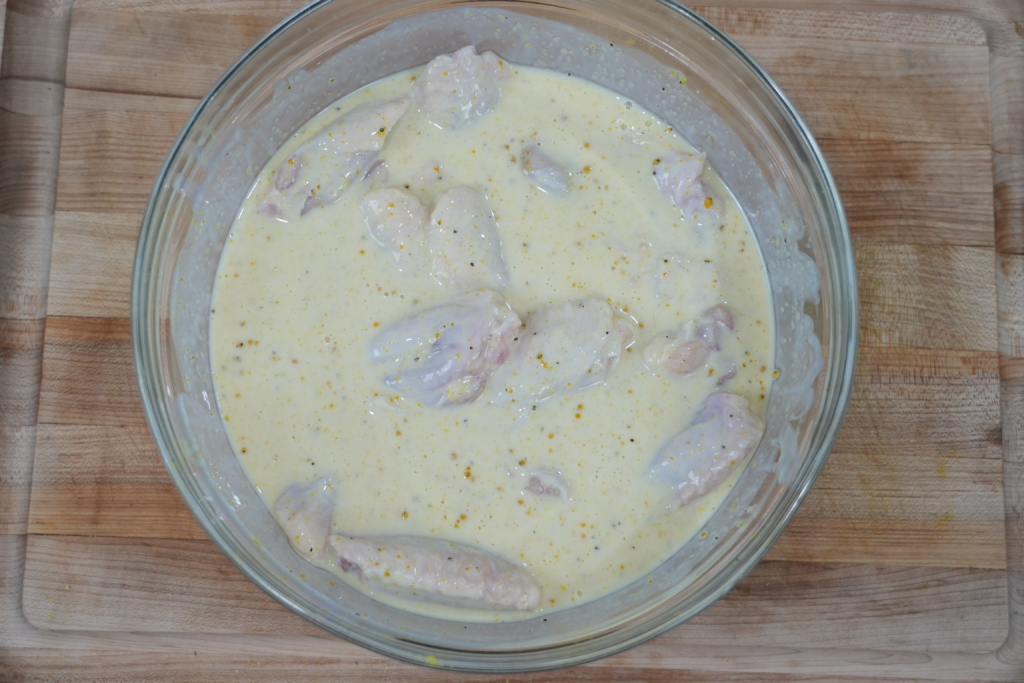
Let this marinate for 2-24 hours.
While the chicken takes a buttermilk bath, let’s make some homemade Blue Cheese dressing!
MR. MAKE IT HAPPEN
All-Purpose Seasoning
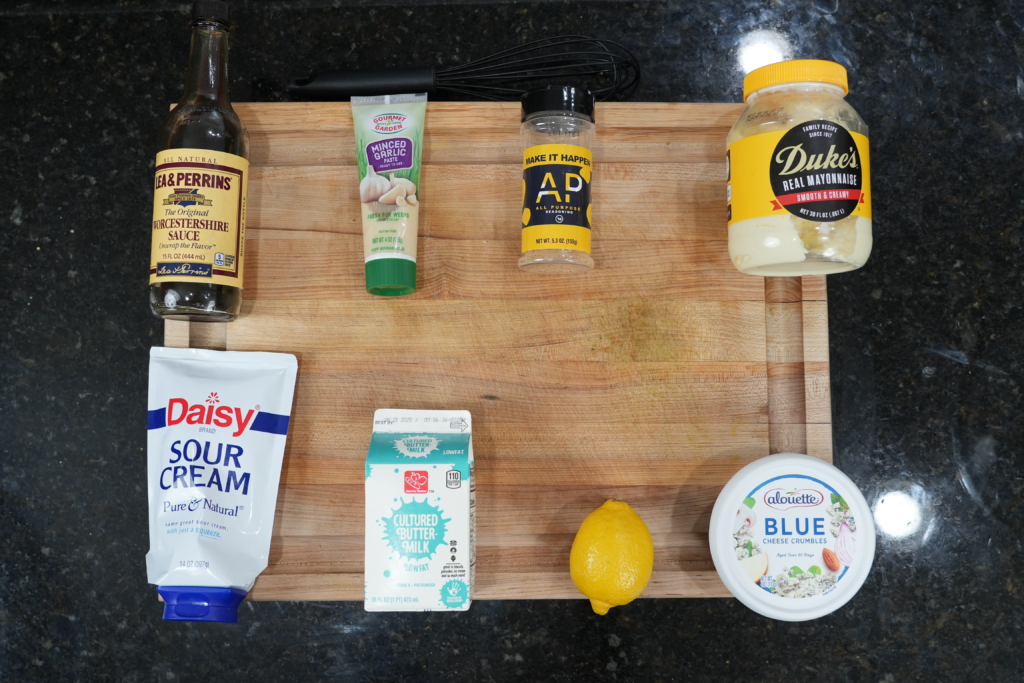
In a mixing bowl, combine the mayonnaise, sour cream, and buttermilk. Stir until smooth. Add in the crumbled blue cheese, 1 teaspoon Worcestershire, lemon juice, and a pinch of salt and pepper or AP Seasoning. Use a spoon to mash the blue cheese into the dressing until it reaches your desired texture. I like mine a little chunky for that real blue cheese flavor, but you can always blend it smoother if you prefer.
Taste and adjust seasoning as needed—sometimes a touch more vinegar or salt makes all the difference!
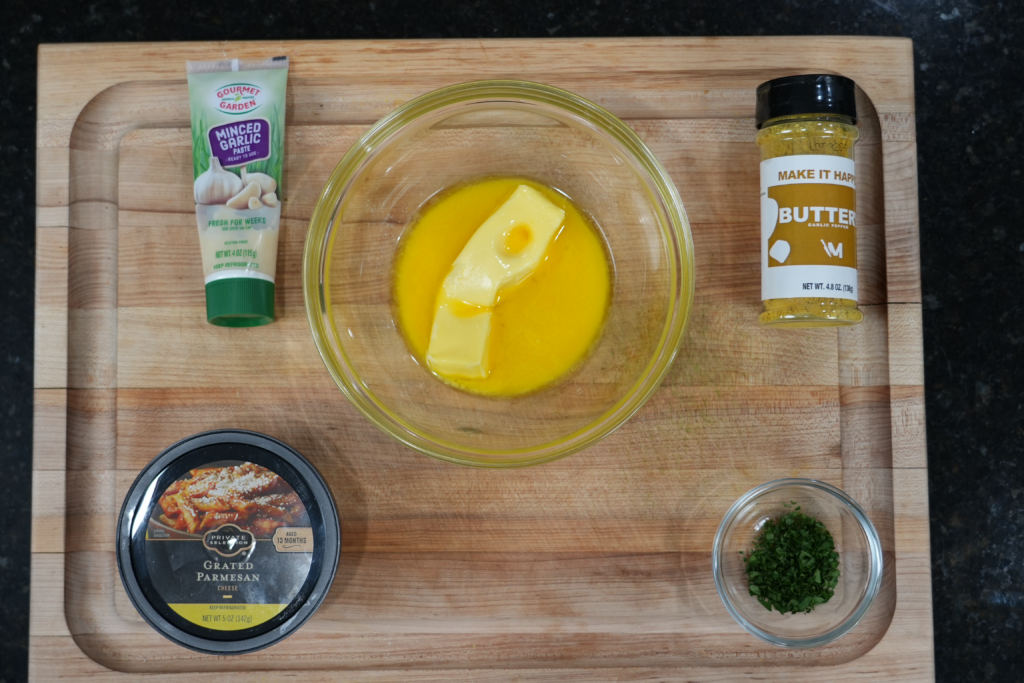
For the Garlic Parm Sauce, we are going to start by melting 1 stick of butter. To that, add your grated parmesan, garlic, seasoning, and parsley.
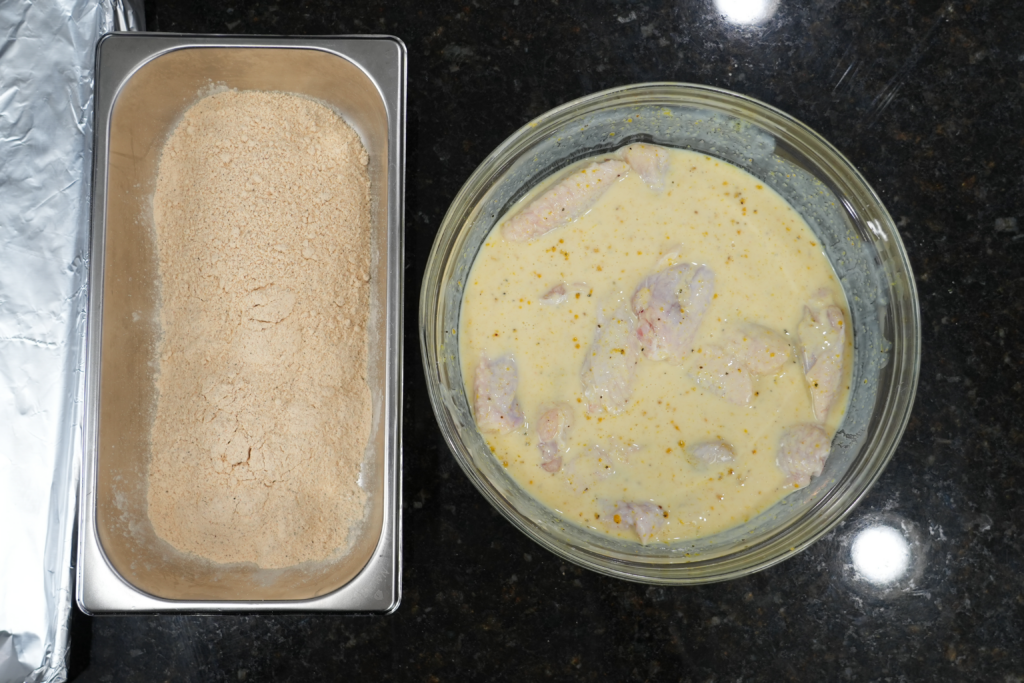
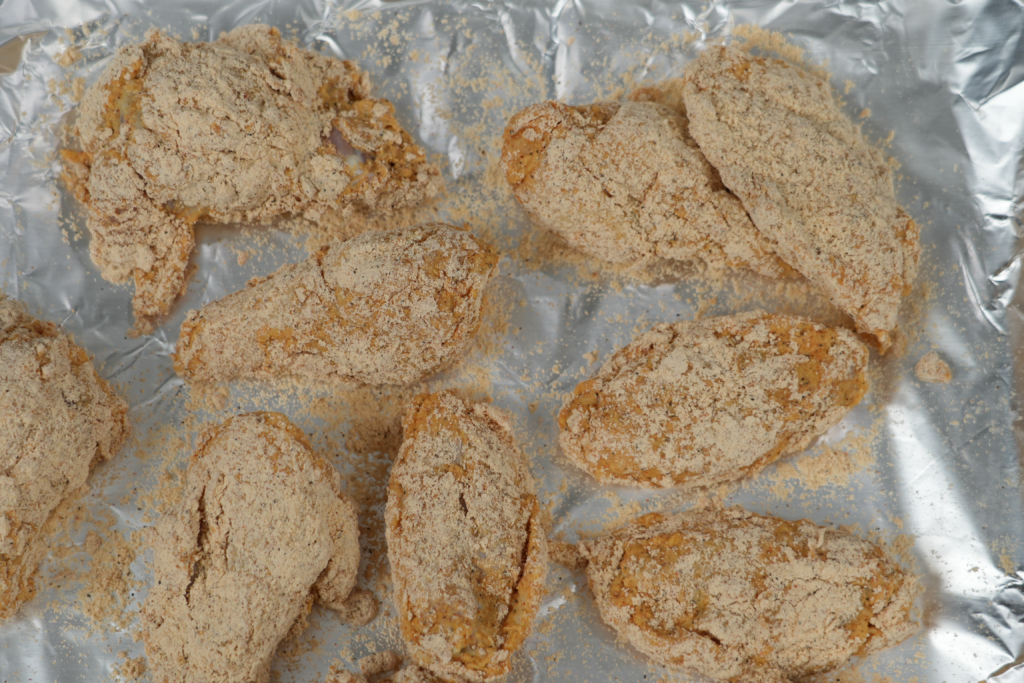
In a large bowl or shallow dish, add 2 cups of Mr. Make It Happen’s Seasoned Flour. This flour is packed with just the right amount of seasoning, so you don't need to add any extra spices!
Once the wings have soaked in the buttermilk, remove them one by one and dredge them thoroughly in the seasoned flour. Make sure to shake off any excess flour. The thicker the coating, the crispier the wings will be!
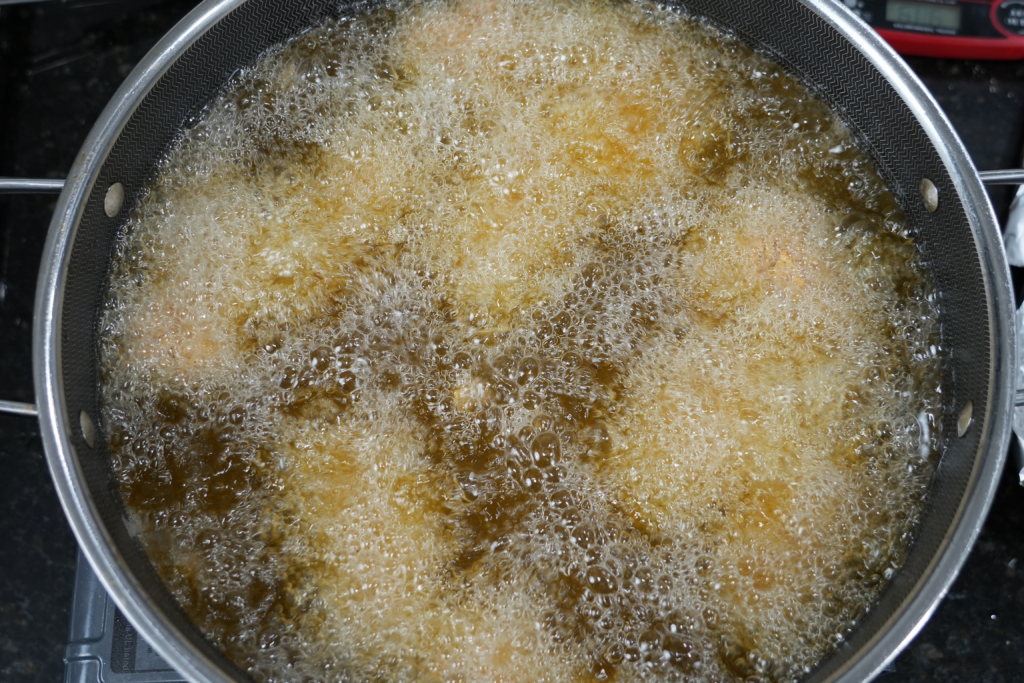
Heat a large pot or deep fryer with vegetable oil to 350°F (175°C). Fry the wings in batches, being careful not to overcrowd the pot.
Fry the wings for about 8-10 minutes, or until golden brown and crispy, turning occasionally for even cooking. If you’re unsure, use a meat thermometer to check for an internal temperature of 165°F (75°C).
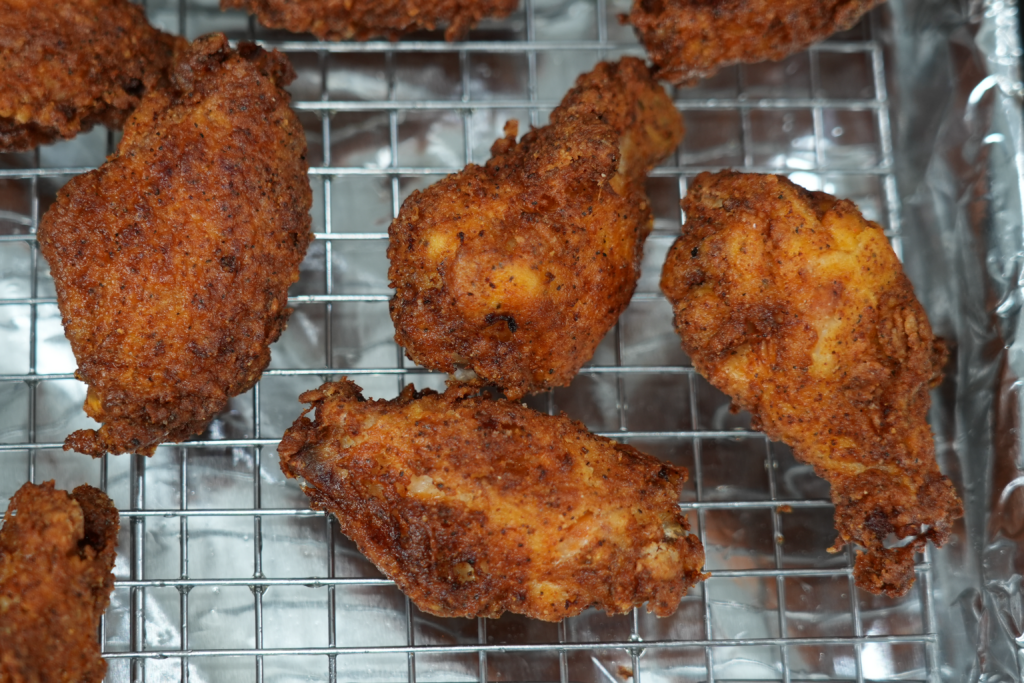
Once crispy and perfectly golden, remove the wings from the oil and let them drain on a paper towel-lined plate.
Toss the Wings in the Garlic Parmesan Sauce
Once the wings are done frying and drained, place them in a large mixing bowl.
Pour the garlic Parmesan sauce over the wings, making sure every wing is coated with that delicious, garlicky goodness. Toss them around gently to ensure an even coating.
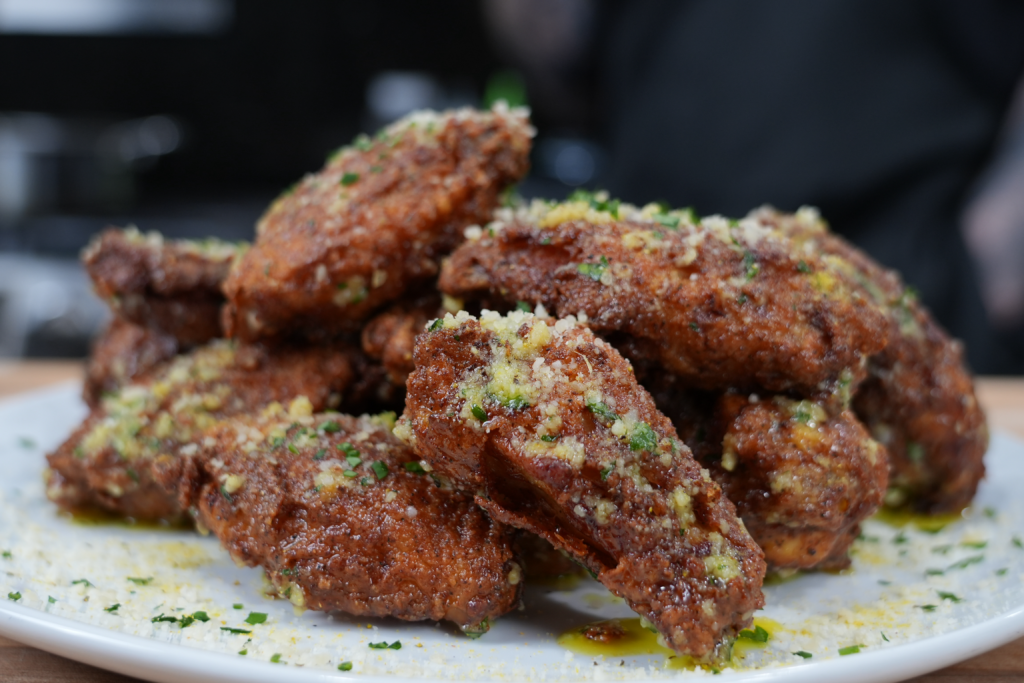
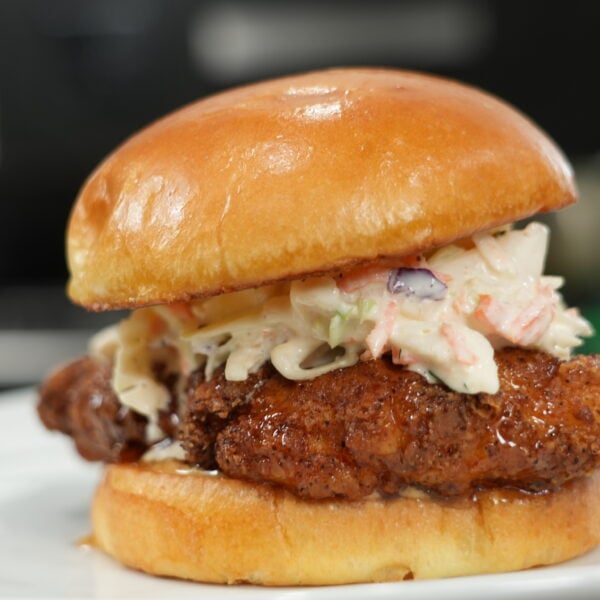
Now that the wings are tossed and the blue cheese dressing is ready, it’s time to serve! Arrange the crispy garlic Parmesan wings on a platter, and garnish with freshly chopped parsley for a pop of color and freshness. Serve with a side of homemade blue cheese dressing for dipping.
Tips for Perfect Wings:
- For extra crispy wings, double-fry them! After frying the first time, let them rest for about 5 minutes, then fry them again for an additional 3-4 minutes until extra crispy.
- Flavor variations: Feel free to play around with the seasoning! Add a sprinkle of lemon zest to the garlic Parmesan sauce for a zesty twist, or switch up the cheese in the dressing to suit your taste.
- Make them ahead: You can prep the wings ahead of time, coating them in the flour and refrigerating them until you're ready to fry. The batter will stay crispier this way.
Final Thoughts:
These Garlic Parmesan Fried Chicken Wings with Homemade Blue Cheese Dressing are the ultimate snack for any gathering or a delicious treat for a night in. The combination of Mr. Make It Happen’s Seasoned Flour, crispy fried wings, rich garlic butter sauce, and creamy blue cheese dressing will leave everyone reaching for more. Whether you're hosting a party, game day, or just indulging in a craving, these wings are sure to be a hit.
Give this recipe a try, and don't forget to share your wing pics with me! I’d love to see how you make it your own.
Print & Download: Garlic Parm Chicken Wings w/ Homemade Bleu Cheese Dressing
Love this recipe? You'll love my seasonings even more!
Level up your cooking with my signature AP Seasoning, Cajun Seasoning, and more.
Shop My Seasonings
Garlic Parmesan Wings
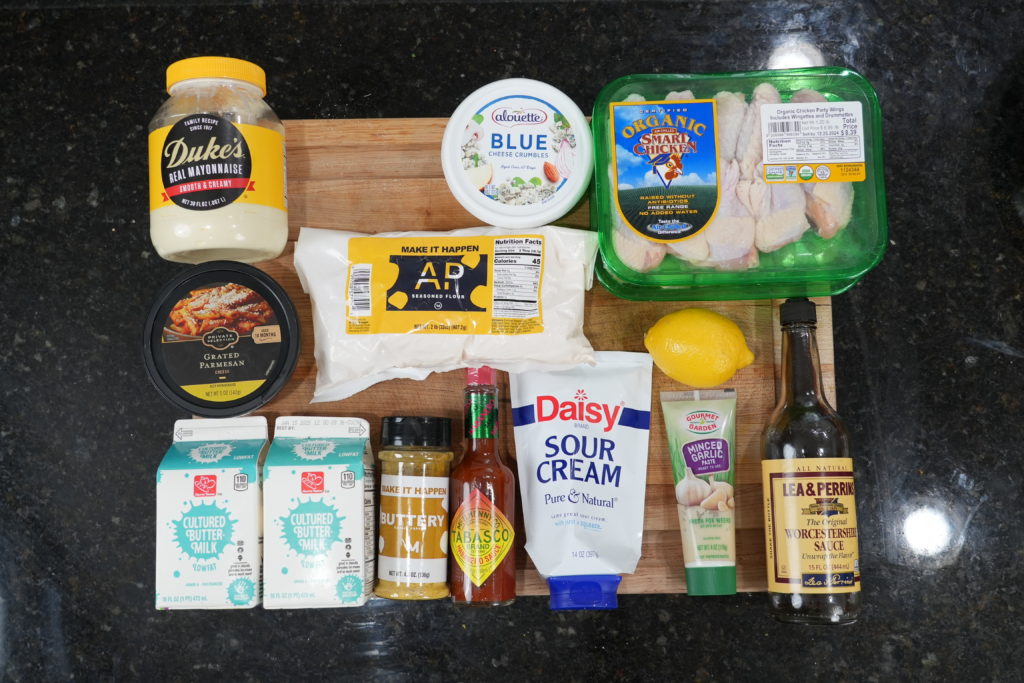
Ingredients
For the Garlic Parmesan Fried Chicken Wings:
- 12-15 chicken wings trimmed and tips removed
- 2 cups Mr. Make It Happen’s Seasoned Flour this will give your wings the perfect crispy coating with a built-in seasoning blend!
- 1 quart buttermilk for soaking + AP Seasoning and Hot Sauce
- Vegetable oil for frying
- 2 tablespoons unsalted butter melted
- ¼ cup freshly grated Parmesan cheese
- 3-4 cloves garlic minced (or more if you're a garlic lover!) or 2 tbsps garlic paste
- Fresh parsley chopped (for garnish)
For the Homemade Blue Cheese Dressing:
- ½ cup mayonnaise
- ¼ cup sour cream
- ¼ cup buttermilk
- 1 lemon
- 1 teaspoon Worcestershire
- ½ cup crumbled blue cheese use a good quality one for the best flavor!
- 1 teaspoon Dijon mustard
- Salt and black pepper to taste
Instructions
Soak the Chicken
- First things first, let’s soak the chicken in some buttermilk, hot sauce, and my new Buttery Garlic Pepper seasoning *feel free to use whatever seasoning you prefer*
Prep the Chicken Wings
- Start by prepping your wings.
- Pat them dry with paper towels to ensure the coating sticks well.
- Then, pour the buttermilk into a bowl, and add the chicken wings.
- Let them soak for about 30 minutes to an hour. The buttermilk helps tenderize the chicken and ensures that beautiful, crispy coating sticks perfectly when fried.
- Let this marinate for 2-24 hours.
- While the chicken takes a buttermilk bath, let’s make some homemade Blue Cheese dressing!
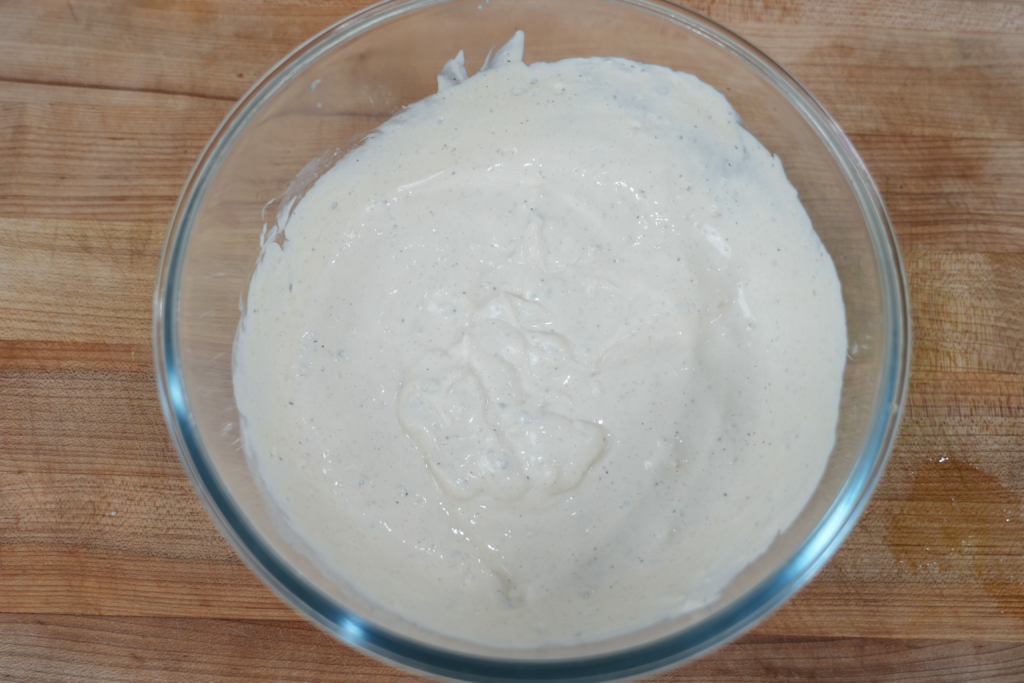
Homemade Blue Cheese Dressing:
- In a mixing bowl, combine the mayonnaise, sour cream, and buttermilk.
- Stir until smooth.
- Add in the crumbled blue cheese, 1 teaspoon Worcestershire, lemon juice and a pinch of salt and pepper or AP Seasoning.
- Use a spoon to mash the blue cheese into the dressing until it reaches your desired texture.
- I like mine a little chunky for that real blue cheese flavor, but you can always blend it smoother if you prefer.
- Taste and adjust seasoning as needed—sometimes a touch more vinegar or salt makes all the difference!
Garlic Parm Sauce:
- For the Garlic Parm Sauce, we are going to start by melting 1 stick of butter.
- To that, add your grated parmesan, garlic, seasoning, and parsley.
Coat the Chicken
- In a large bowl or shallow dish, add 2 cups of Mr. Make It Happen’s Seasoned Flour.
- This flour is packed with just the right amount of seasoning, so you don't need to add any extra spices!
- Once the wings have soaked in the buttermilk, remove them one by one and dredge them thoroughly in the seasoned flour.
- Make sure to shake off any excess flour.
- The thicker the coating, the crispier the wings will be!
Fry the Wings
- Heat a large pot or deep fryer with vegetable oil to 350°F (175°C).
- Fry the wings in batches, being careful not to overcrowd the pot.
- Fry the wings for about 8-10 minutes, or until golden brown and crispy, turning occasionally for even cooking.
- If you’re unsure, use a meat thermometer to check for an internal temperature of 165°F (75°C).
- Once crispy and perfectly golden, remove the wings from the oil and let them drain on a paper towel-lined plate.
Toss the Wings in the Garlic Parmesan Sauce
- Once the wings are done frying and drained, place them in a large mixing bowl.
- Pour the garlic Parmesan sauce over the wings, making sure every wing is coated with that delicious, garlicky goodness.
- Toss them around gently to ensure an even coating.
Serve
- Now that the wings are tossed and the blue cheese dressing is ready, it’s time to serve!
- Arrange the crispy garlic Parmesan wings on a platter, and garnish with freshly chopped parsley for a pop of color and freshness.
- Serve with a side of homemade blue cheese dressing for dipping.
Notes
- For extra crispy wings, double fry them! After frying the first time, let them rest for about 5 minutes, then fry them again for an additional 3-4 minutes until extra crispy.
- Flavor variations: Feel free to play around with the seasoning! Add a sprinkle of lemon zest to the garlic Parmesan sauce for a zesty twist, or switch up the cheese in the dressing to suit your taste.
Nutrition
Never miss a recipe! Follow Mr. Make It Happen on Google News
Follow on Google NewsEquipment & Tools Used In This Recipe
As an Amazon Associate I earn from qualifying purchases.
Worked exactly as written! Tasted great!