
This post contains affiliate links. Please see our disclosure policy.
Quick Summary
In This Recipe
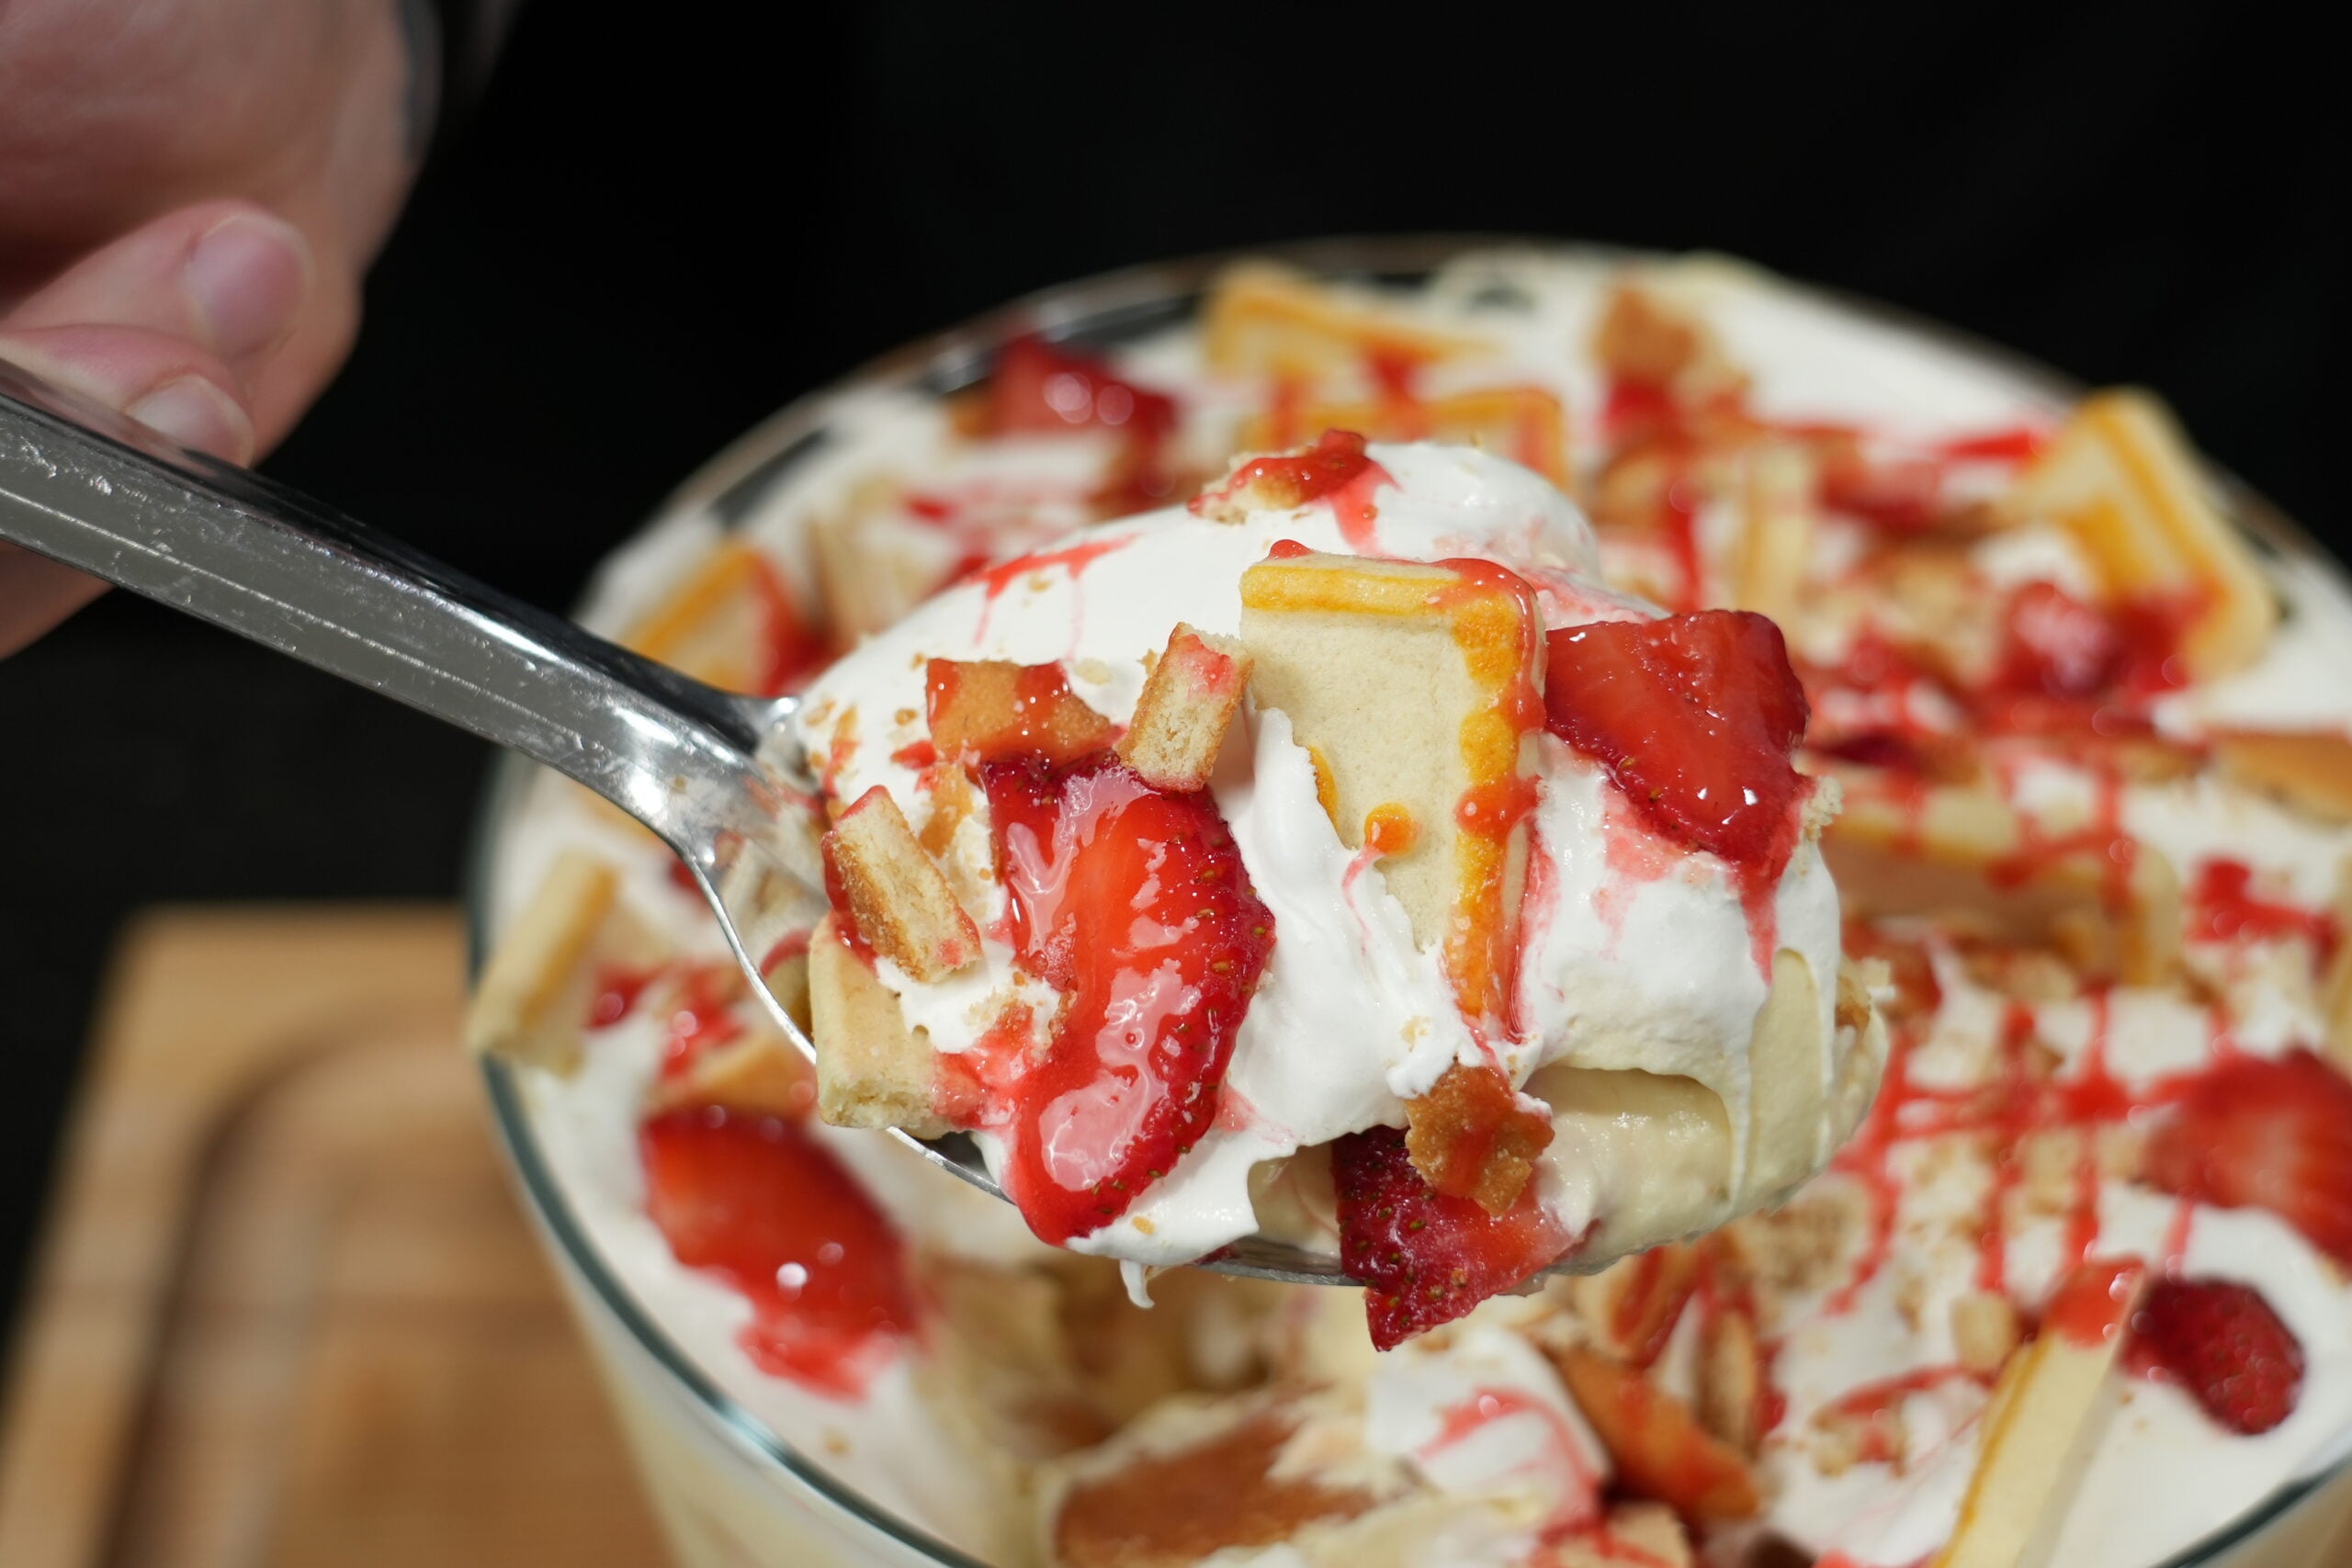
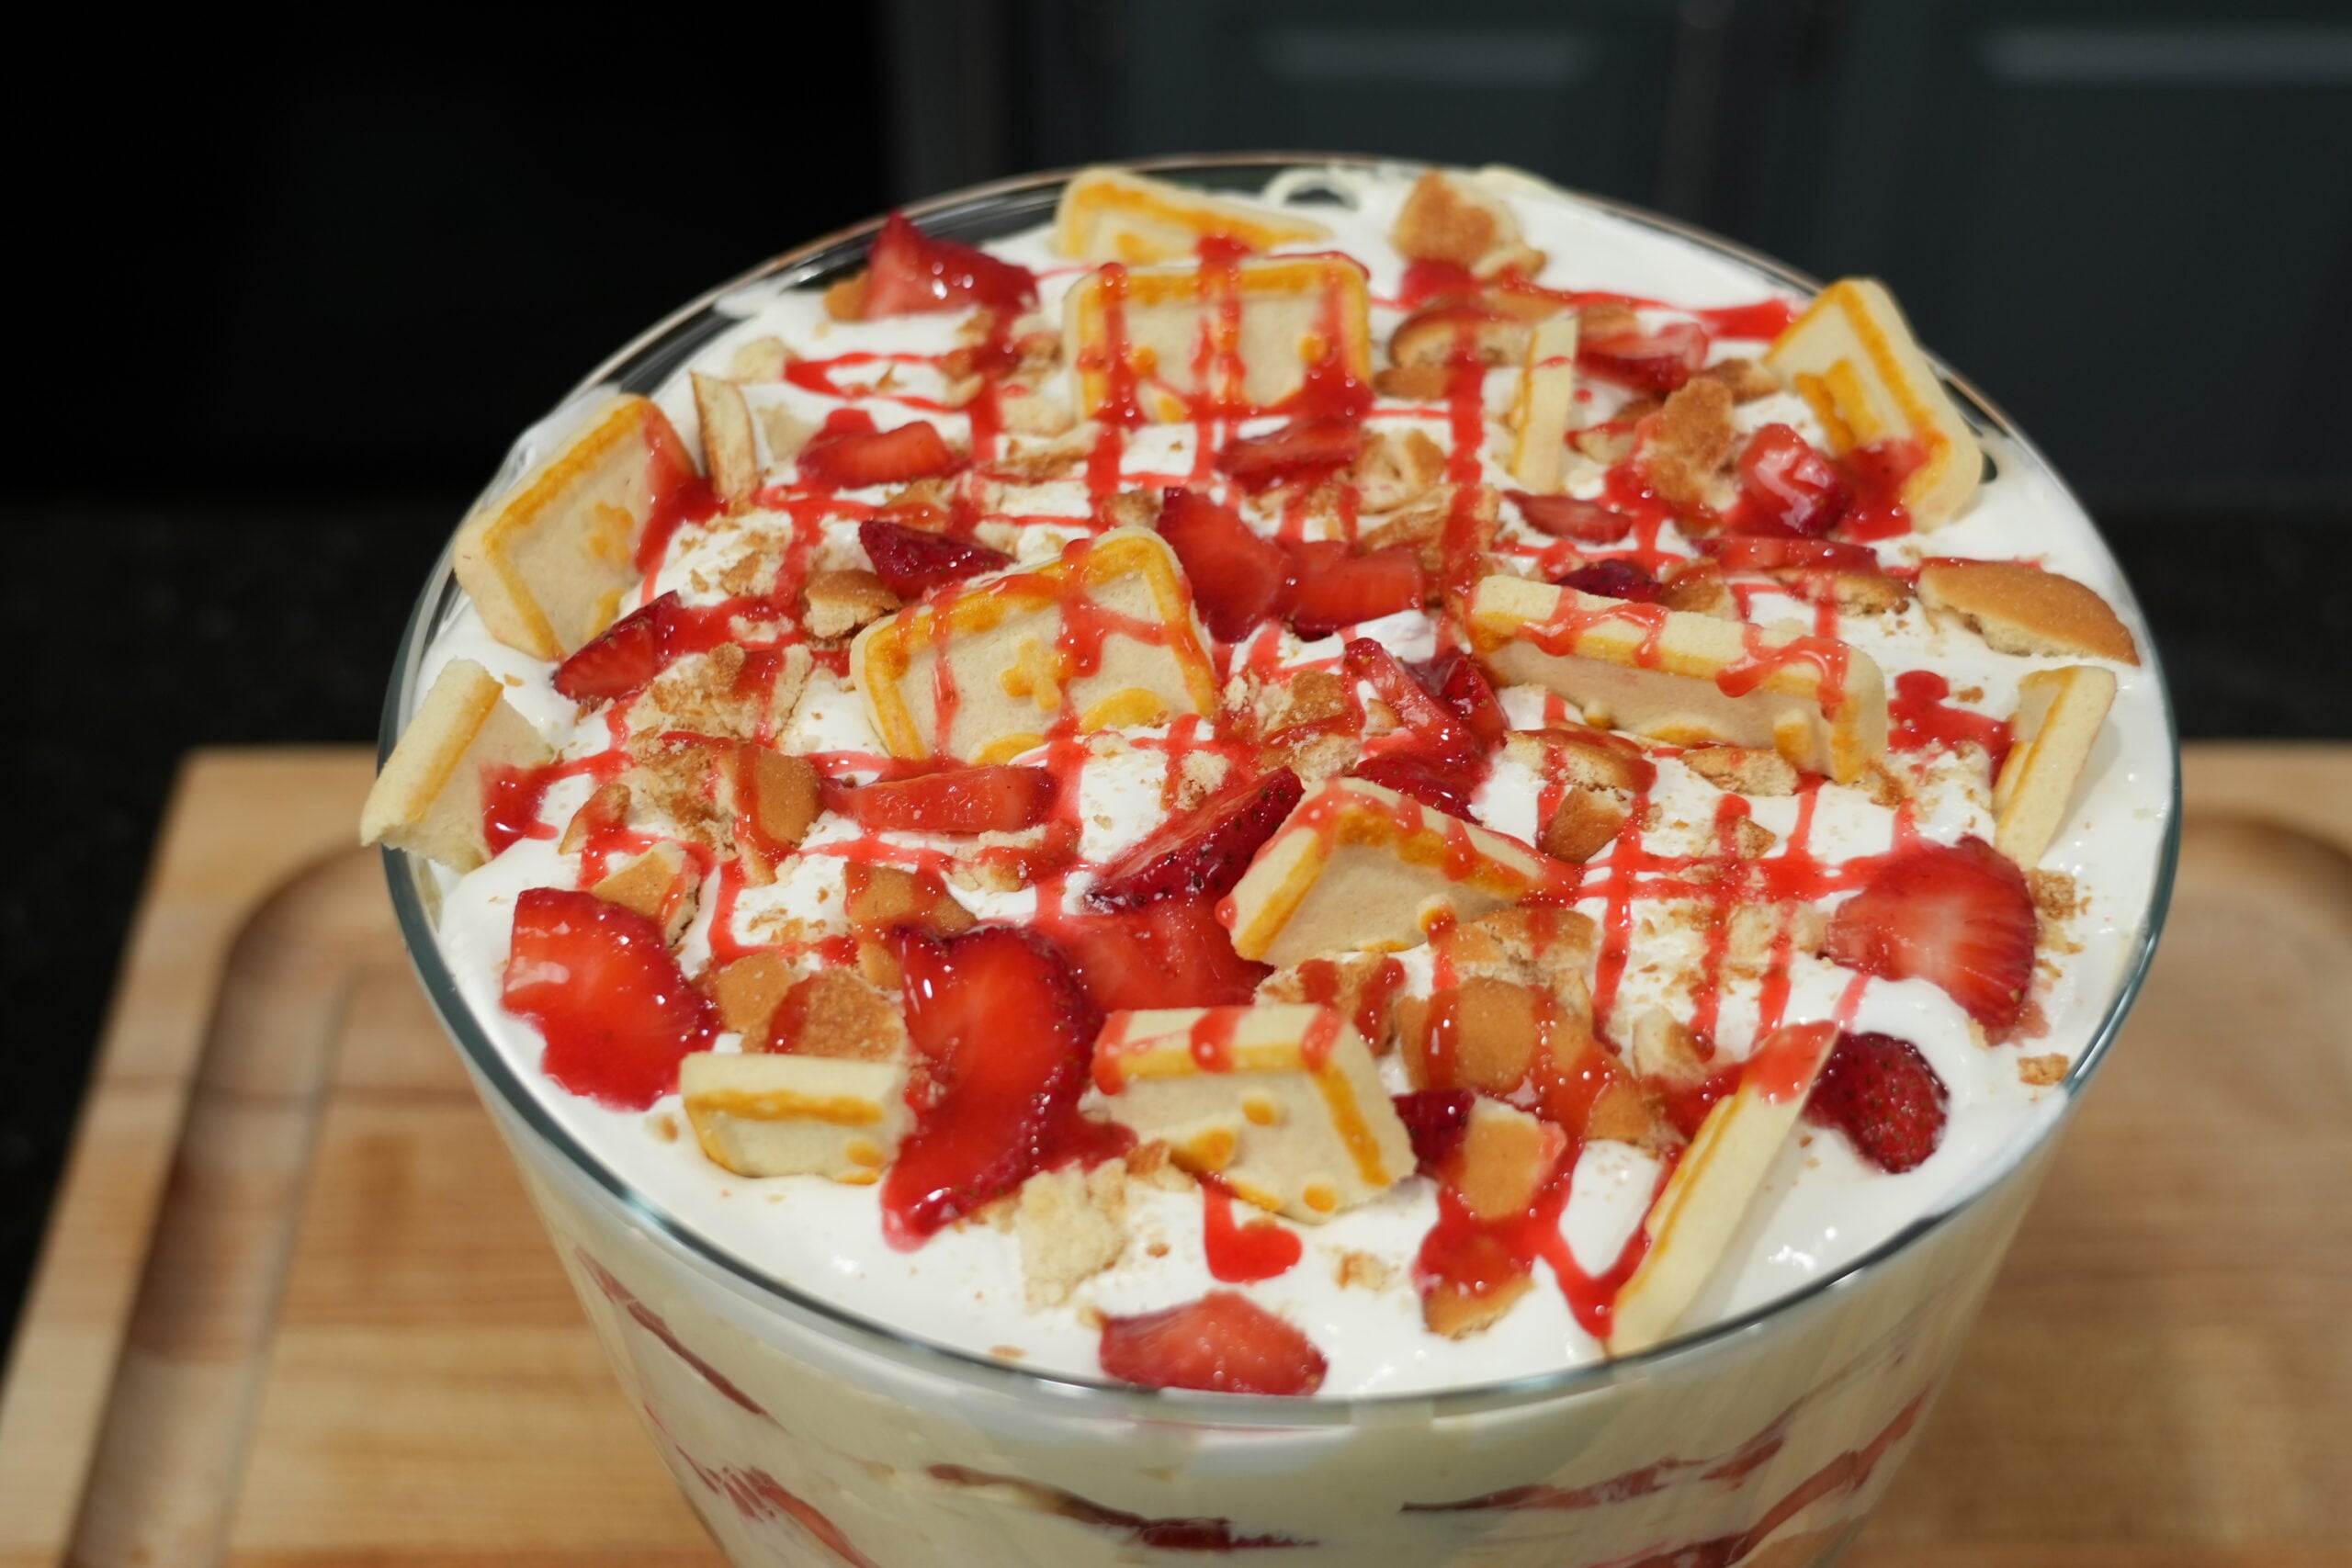
This Strawberry Banana Pudding is the ultimate no-bake dessert. It’s rich, creamy, and layered with vanilla pudding, Cool Whip, Chessman cookies, ripe bananas, and macerated strawberries—all topped with a sweet strawberry syrup. Perfect for potlucks, parties, or a Sunday sweet treat!
Category: Sweet Tooth | By: Matt Price, Mr. Make It Happen
Banana pudding is one of those dishes that defines Southern cooking. It's comfort food, it's nostalgia, and it's the dessert that ends every cookout, holiday dinner, and Sunday supper. Now take that classic and add fresh strawberries to the mix — and you've got something that hits different. This strawberry banana pudding is made completely from scratch, no box pudding mix, no shortcuts. Just real homemade vanilla pudding, ripe bananas, juicy strawberries, and vanilla wafers layered into something that'll make you close your eyes with every bite.
I've served this at Fraîche for special events, and it always gets the biggest reaction. People expect banana pudding. They don't expect the strawberries. That pop of fruit and color takes it from a classic to a showstopper. And because we're making the pudding from scratch, the texture and flavor blow any instant version out of the water. Trust me on this one.
The beauty of this strawberry banana pudding recipe is that it works for everything — backyard barbecues, potlucks, baby showers, holiday dessert tables, or just a random Tuesday when you need something sweet. It feeds a crowd, it travels well, and it looks absolutely stunning in a trifle dish with those colorful layers showing through the glass.
Whether you're bringing this to a cookout, building a holiday dessert table, or just want something sweet on a Sunday afternoon — this is the recipe. No oven needed, no fuss, just pure Southern comfort with a twist. Let's make it happen.
The Key Ingredients
Homemade Vanilla Pudding vs Box Mix
This is where the magic starts. Homemade vanilla pudding uses egg yolks, whole milk, sugar, cornstarch, butter, and real vanilla extract. The result is richer, silkier, and has a depth of flavor that instant pudding mix simply cannot touch. It takes about 10 minutes on the stovetop. That extra effort is the difference between a dessert that's good and one that people remember.
Fresh Bananas
You want ripe bananas — yellow with just a few brown spots. That's peak sweetness without being mushy. Green bananas are starchy and bland. Overripe bananas will dissolve into the pudding and turn brown fast. Slice them about a quarter-inch thick for even layers that hold their shape.
Fresh Strawberries
Fresh is non-negotiable here. Frozen strawberries release too much water and will make the pudding soggy. Look for berries that are bright red all the way through — no white shoulders. Slice them thin so they layer flat and give you that strawberry hit in every single bite.
Vanilla Wafers & Whipped Topping
Nilla Wafers are the classic choice and they work perfectly. As they sit in the pudding, they soften and absorb all that creamy vanilla flavor while still holding just enough structure. For the topping, you can go with Cool Whip for convenience or make fresh whipped cream with heavy cream and a bit of sugar. Homemade whipped cream tastes better — no contest — but either way this dessert delivers.
How to Make Strawberry Banana Pudding Step by Step
Step 1: Make the Pudding
Whisk together sugar, cornstarch, and a pinch of salt in a medium saucepan. Slowly pour in the whole milk while whisking constantly. Cook over medium heat, stirring the entire time, until it starts to thicken — about 5-7 minutes. Once it's thick enough to coat the back of a spoon, remove from heat. Stir in egg yolks (temper them first by adding a small amount of the hot mixture), butter, and vanilla extract. The pudding will thicken more as it cools. Place plastic wrap directly on the surface to prevent a skin from forming. The key here is patience — keep stirring and don't crank the heat too high or you'll get lumps. If you do end up with a few lumps, just strain the pudding through a fine mesh sieve. It'll be silky smooth.
Step 2: Prep the Fruit
While the pudding cools slightly, slice your bananas and strawberries. Toss the banana slices with a squeeze of fresh lemon juice — this prevents browning and keeps them looking fresh for hours. Slice the strawberries about the same thickness as the bananas so everything layers evenly.
Step 3: Layer It Up
Grab a trifle dish or 9x13 baking dish. Start with a layer of vanilla wafers across the bottom. Add a layer of banana slices, then strawberry slices, then a generous spread of pudding. Repeat this at least 2-3 times. For the top layer, finish with pudding and a thick layer of whipped cream. Garnish with a few whole strawberries, banana slices, and crushed vanilla wafers on top for that visual pop. Pro tip: if you're using a trifle dish, press some strawberry and banana slices against the glass as you layer — it creates that gorgeous presentation that makes people pull out their phones before they even taste it.
Step 4: Chill & Serve
Cover and refrigerate for at least 4 hours, but overnight is even better. This chilling time lets the wafers soften, the pudding sets completely, and all those flavors marry together. When you're ready to serve, scoop deep to get every layer in each portion.
How to Prevent Brown Bananas
Nobody wants a dessert with brown, sad-looking bananas. The easiest fix is a quick toss in fresh lemon juice right after slicing. The citric acid slows the oxidation process without affecting the flavor. You can also try a light dip in pineapple juice if you want a slightly sweeter note.
The other strategy is timing. If you're making this for a party, assemble it the same day you're serving — ideally 4-8 hours ahead. Assembling the night before works fine for flavor (actually makes it better), but the bananas will start to darken after 12+ hours no matter what you do. My move: do all the pudding and strawberry layers the night before, then add the banana slices and whipped cream topping the morning of.
Variations to Try
Want to switch things up? Try the strawberry crunch version — crush up some Golden Oreos or strawberry shortcake bars and layer them in place of the wafers. The crunch adds a whole new texture dimension. You can also make a no-bake cheesecake version by folding cream cheese into the pudding layer for extra richness.
For parties, try making individual mason jar portions. Layer everything the same way but in small jars — they look incredible, portion perfectly, and guests love having their own. If you're doing a summer party, freeze individual portions into popsicle molds for strawberry banana pudding pops — the kids will go crazy for them. This is also a great dessert to pair with other Southern sweets like my cinnamon roll bread pudding or classic bread pudding for a full dessert spread.
Make-Ahead & Storage Tips
This pudding is actually best when made ahead. The sweet spot is 4-8 hours of chill time — the wafers have softened perfectly and the pudding is set but still creamy. It'll keep in the fridge for up to 3 days, but honestly it rarely lasts that long. Cover it tightly with plastic wrap to prevent it from absorbing fridge odors. Add the whipped cream topping and garnishes right before serving for the freshest look and texture. I don't recommend freezing this one — the wafers and fresh fruit don't hold up well after thawing. Make it fresh every time, and nobody will complain about having to eat it all within a few days.

Frequently Asked Questions
How do you make 4 ingredient banana pudding?
The shortcut version uses instant pudding mix, cold milk, Cool Whip, and Nilla Wafers. Mix the pudding and milk, fold in Cool Whip, layer with wafers. It's quick and easy, but the flavor and texture don't compare to making the pudding from scratch. If you have 10 extra minutes, the homemade route is always worth it.
Does Jello make strawberry pudding mix?
Yes — Jello makes a strawberry-flavored instant pudding mix. It'll give you a pink-colored pudding with a strawberry flavor. But for this recipe, I recommend sticking with vanilla pudding and using fresh strawberries for the real fruit flavor and texture. The artificial stuff doesn't compare to sliced fresh berries layered through real vanilla pudding.
Is it good to mix strawberries and bananas?
It's a perfect pairing. Bananas bring creamy sweetness while strawberries add brightness and a slight tartness. The texture contrast works too — soft banana against firmer strawberry slices. There's a reason strawberry banana is one of the most popular smoothie combos out there. In a pudding, they complement each other even better because the pudding ties everything together.
How do you keep bananas from turning black in pudding?
Toss your banana slices in a squeeze of fresh lemon juice immediately after cutting. The acid slows oxidation and keeps them looking fresh for hours. Assemble the pudding closer to serving time if appearance matters — within 4-8 hours is ideal. You can also layer the bananas between the pudding so they're less exposed to air.

Love this recipe? You'll love my seasonings even more!
Level up your cooking with my signature AP Seasoning, Cajun Seasoning, and more.
Shop My SeasoningsMake It Happen in Your Kitchen
Level up every recipe with my signature seasonings, cookware & bundles.

Strawberry Banana Pudding
Equipment
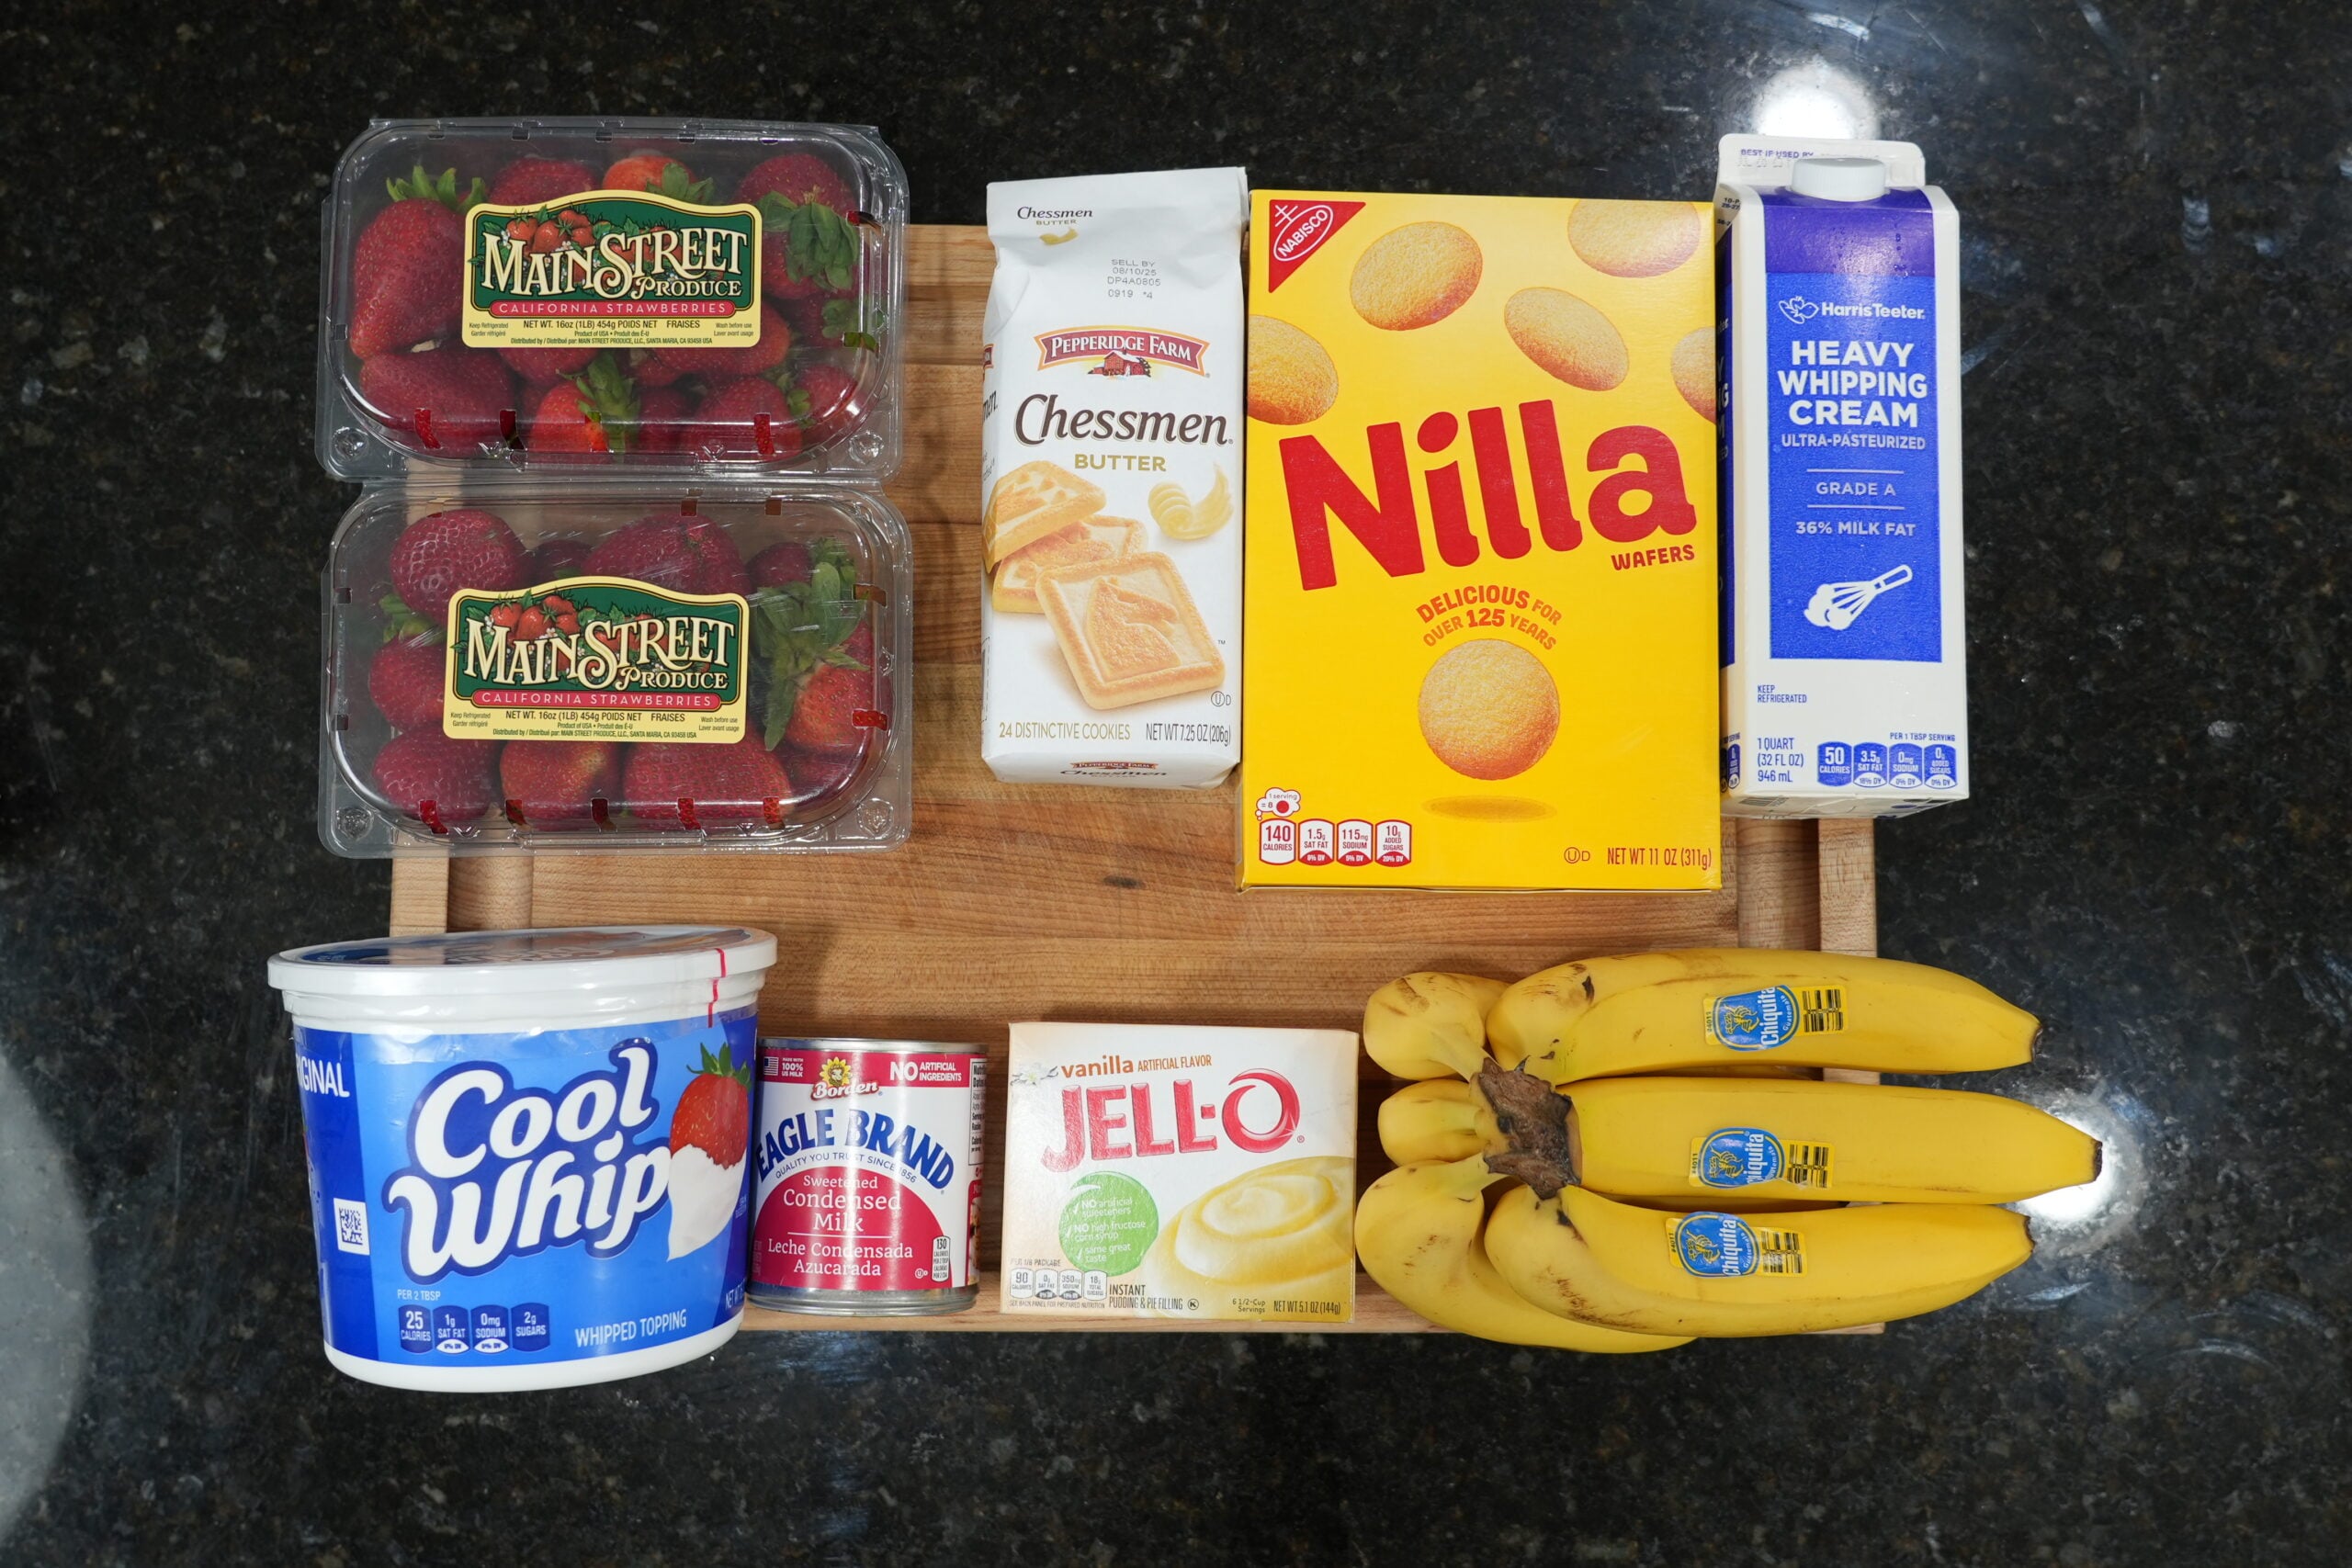
Ingredients
For the Pudding Mixture:
- 2 boxes instant vanilla pudding mix 3.4 oz boxes
- 4 cups cold milk
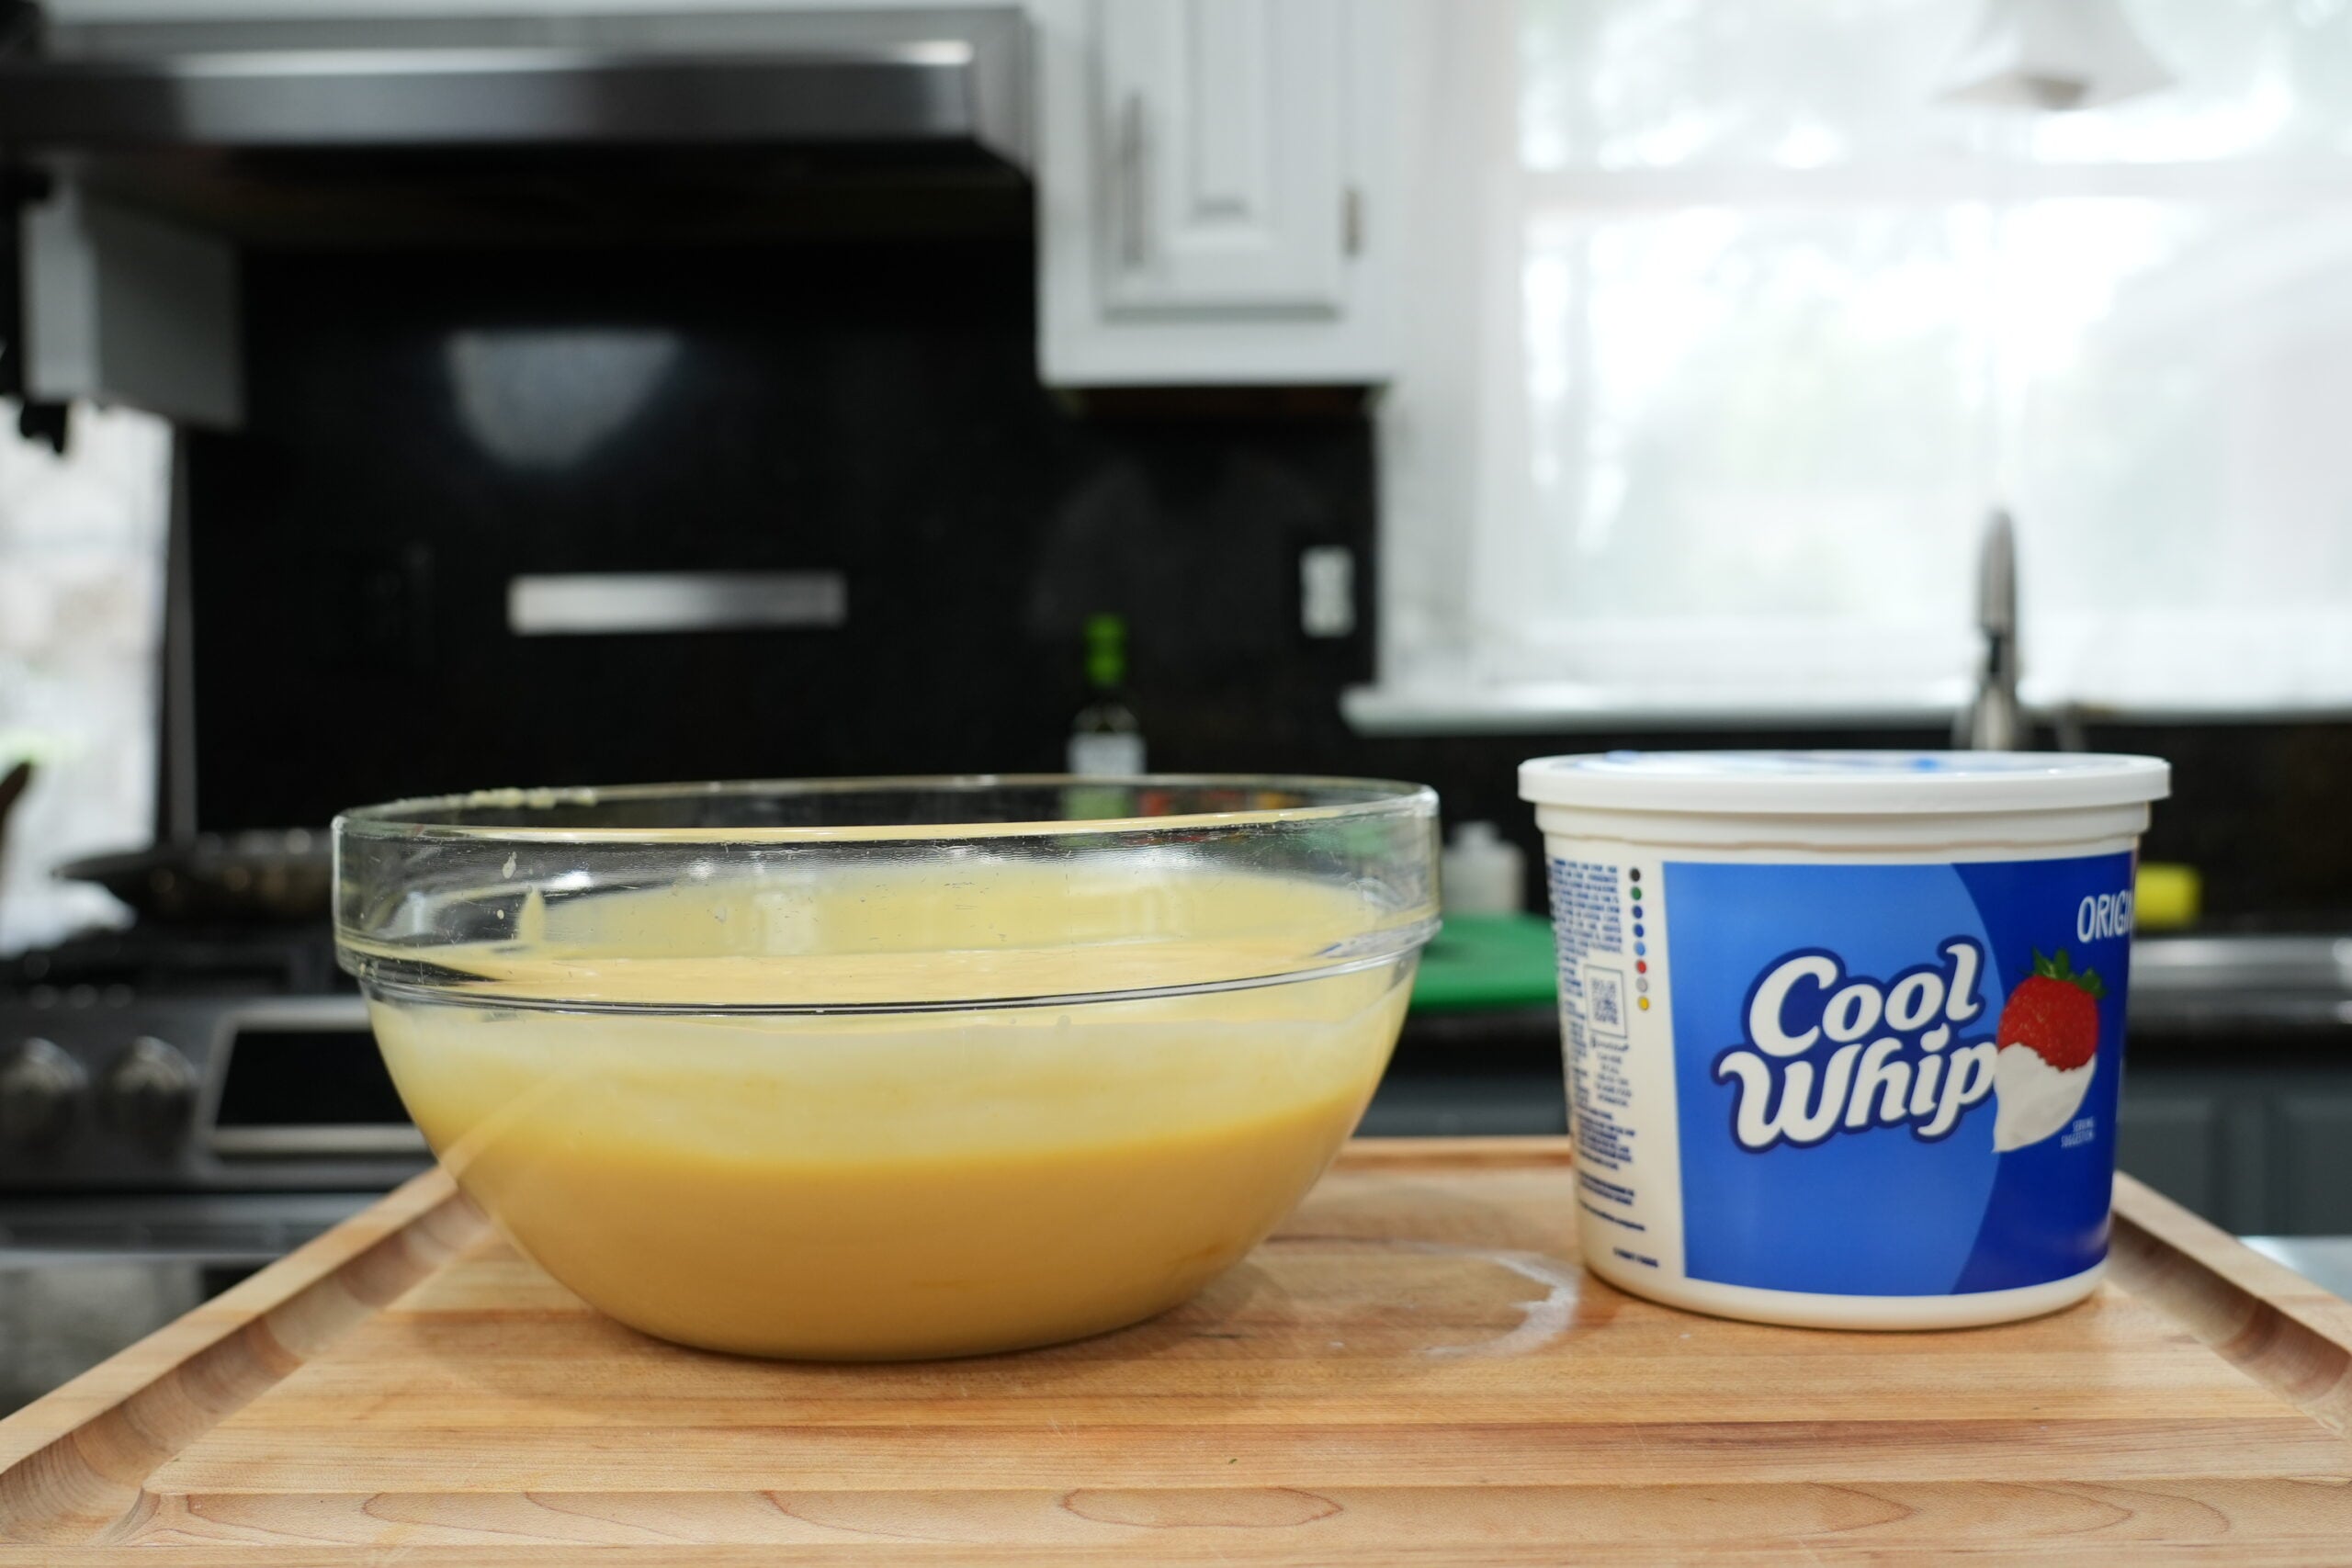
- 1 tub Cool Whip, thawed 16 oz tub
- 1 can sweetened condensed milk
For the Fruit:
- 2-3 whole ripe bananas sliced
- 2 cups fresh strawberries hulled and sliced
- 2 tablespoons sugar for macerating strawberries
For the Layers:
- Vanilla wafer cookies
- Chessman cookies
- Strawberry syrup for drizzling
Instructions
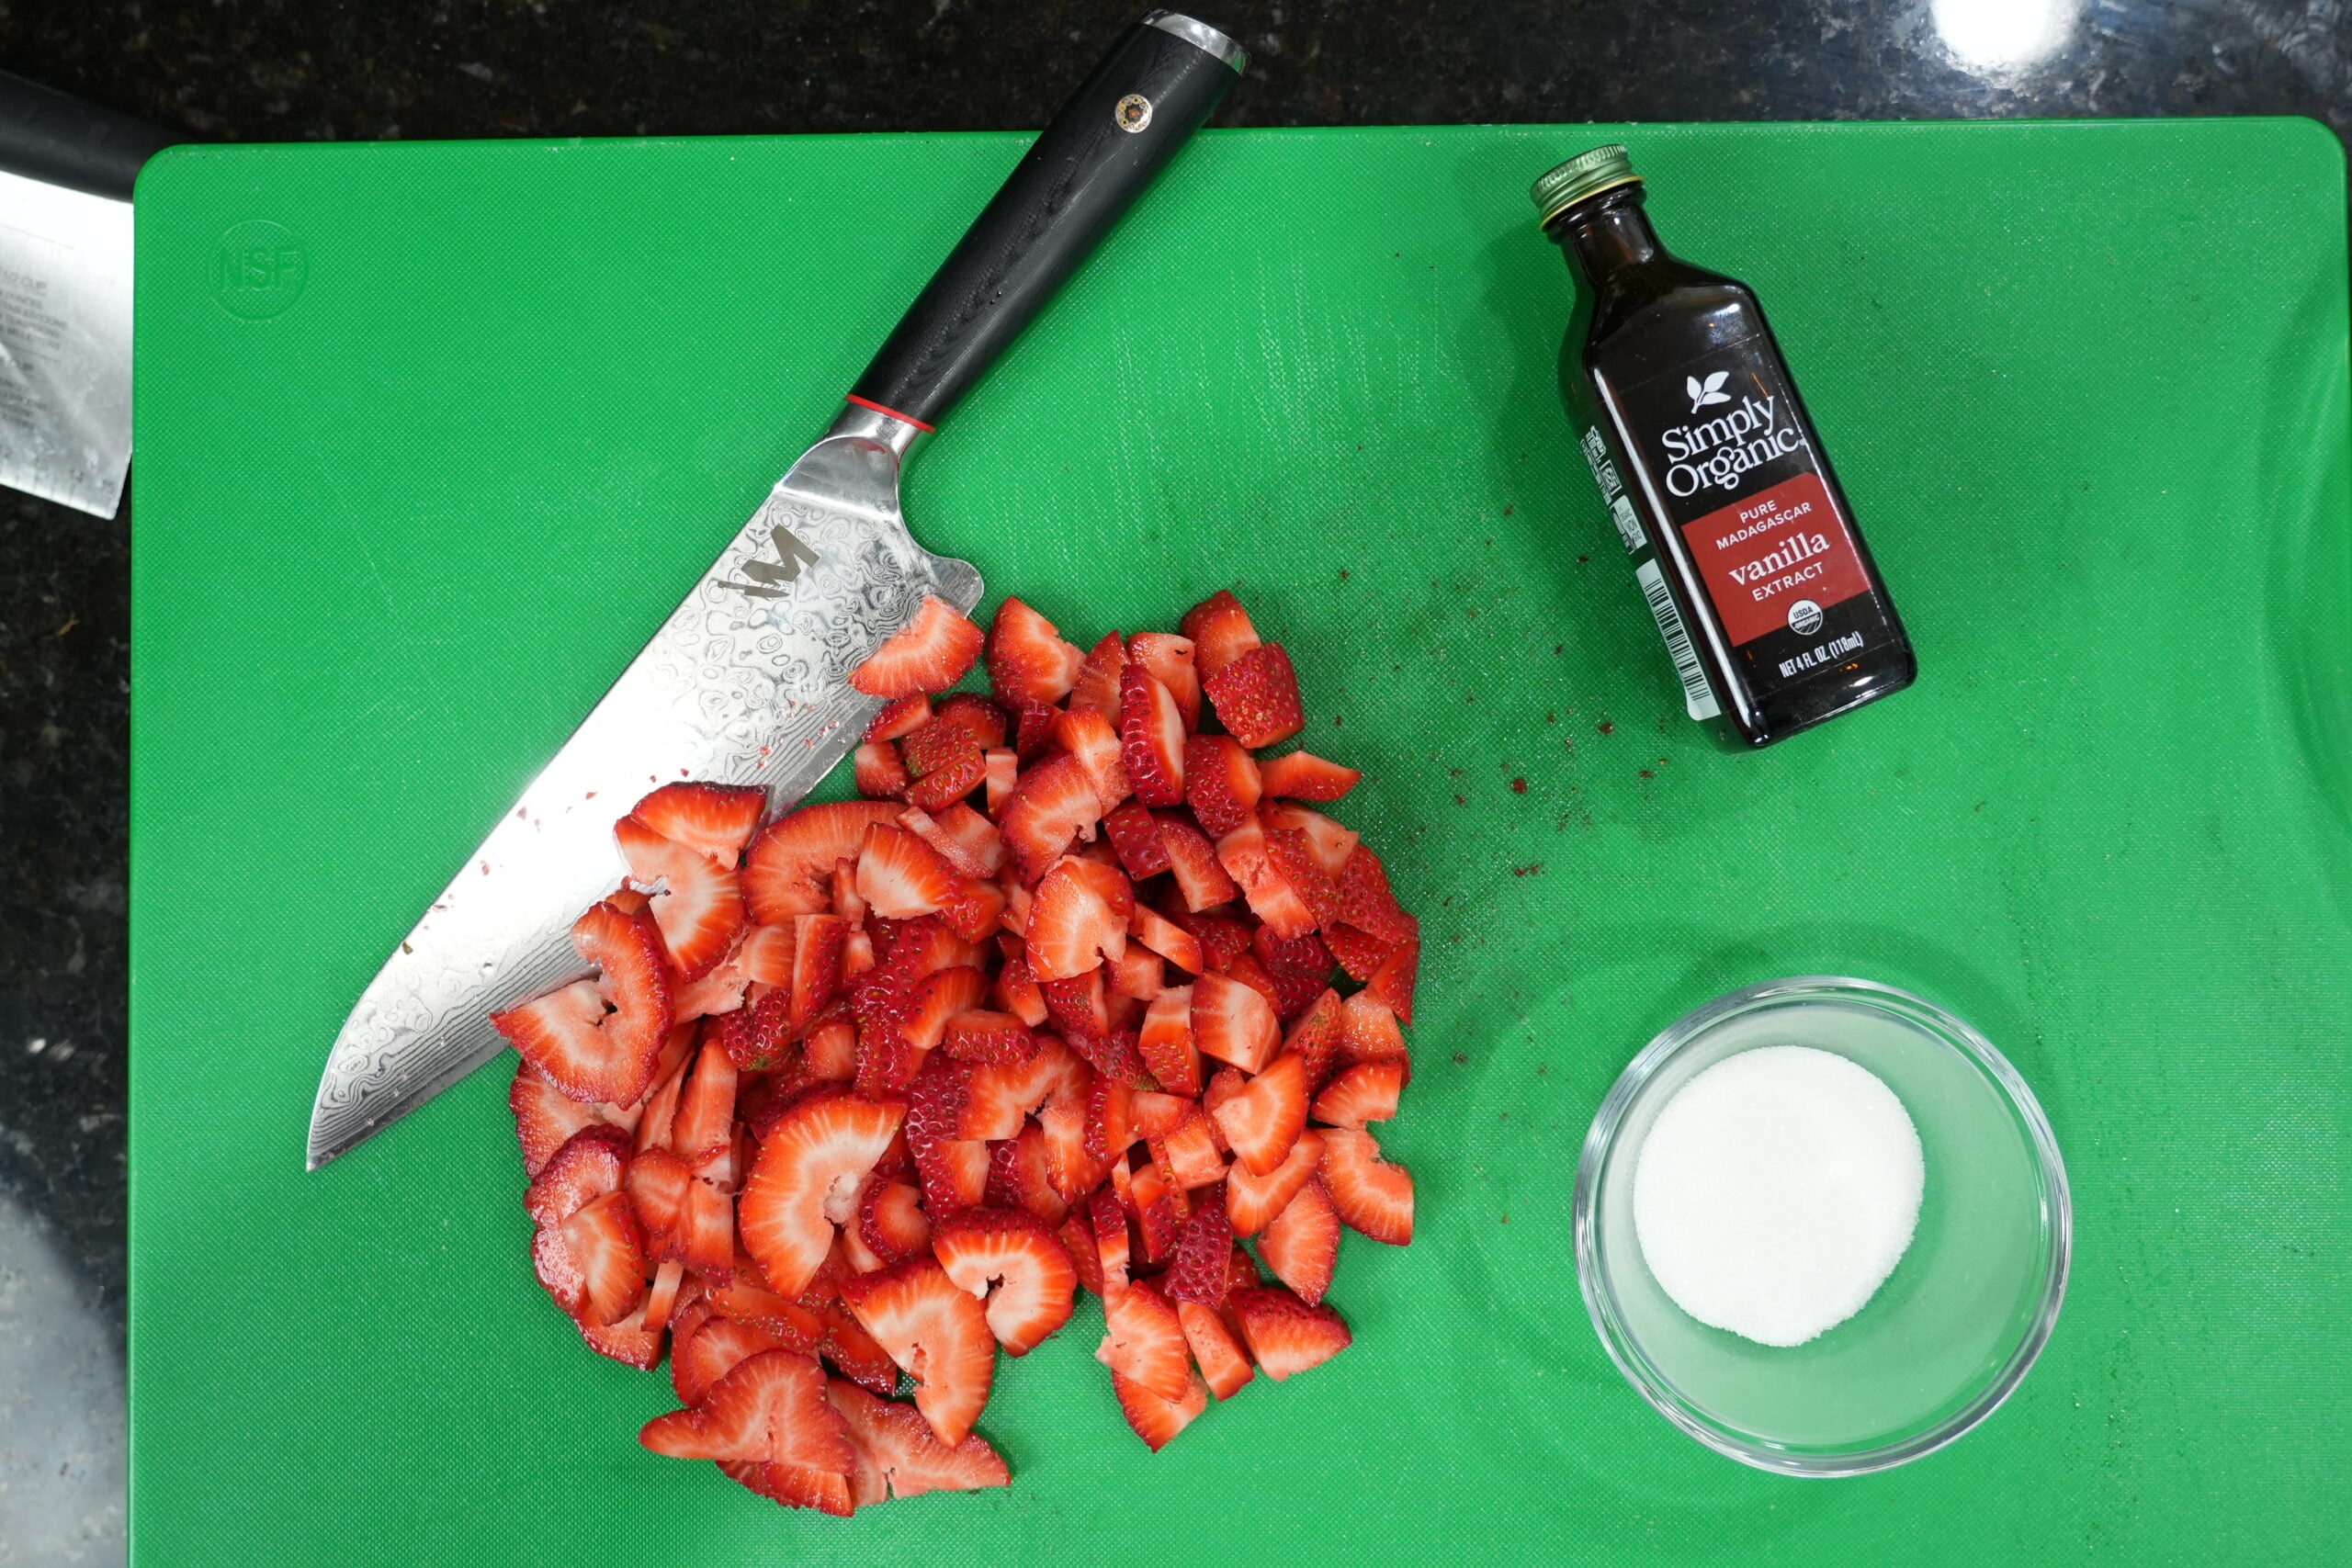
Step 1 – Macerate the Strawberries
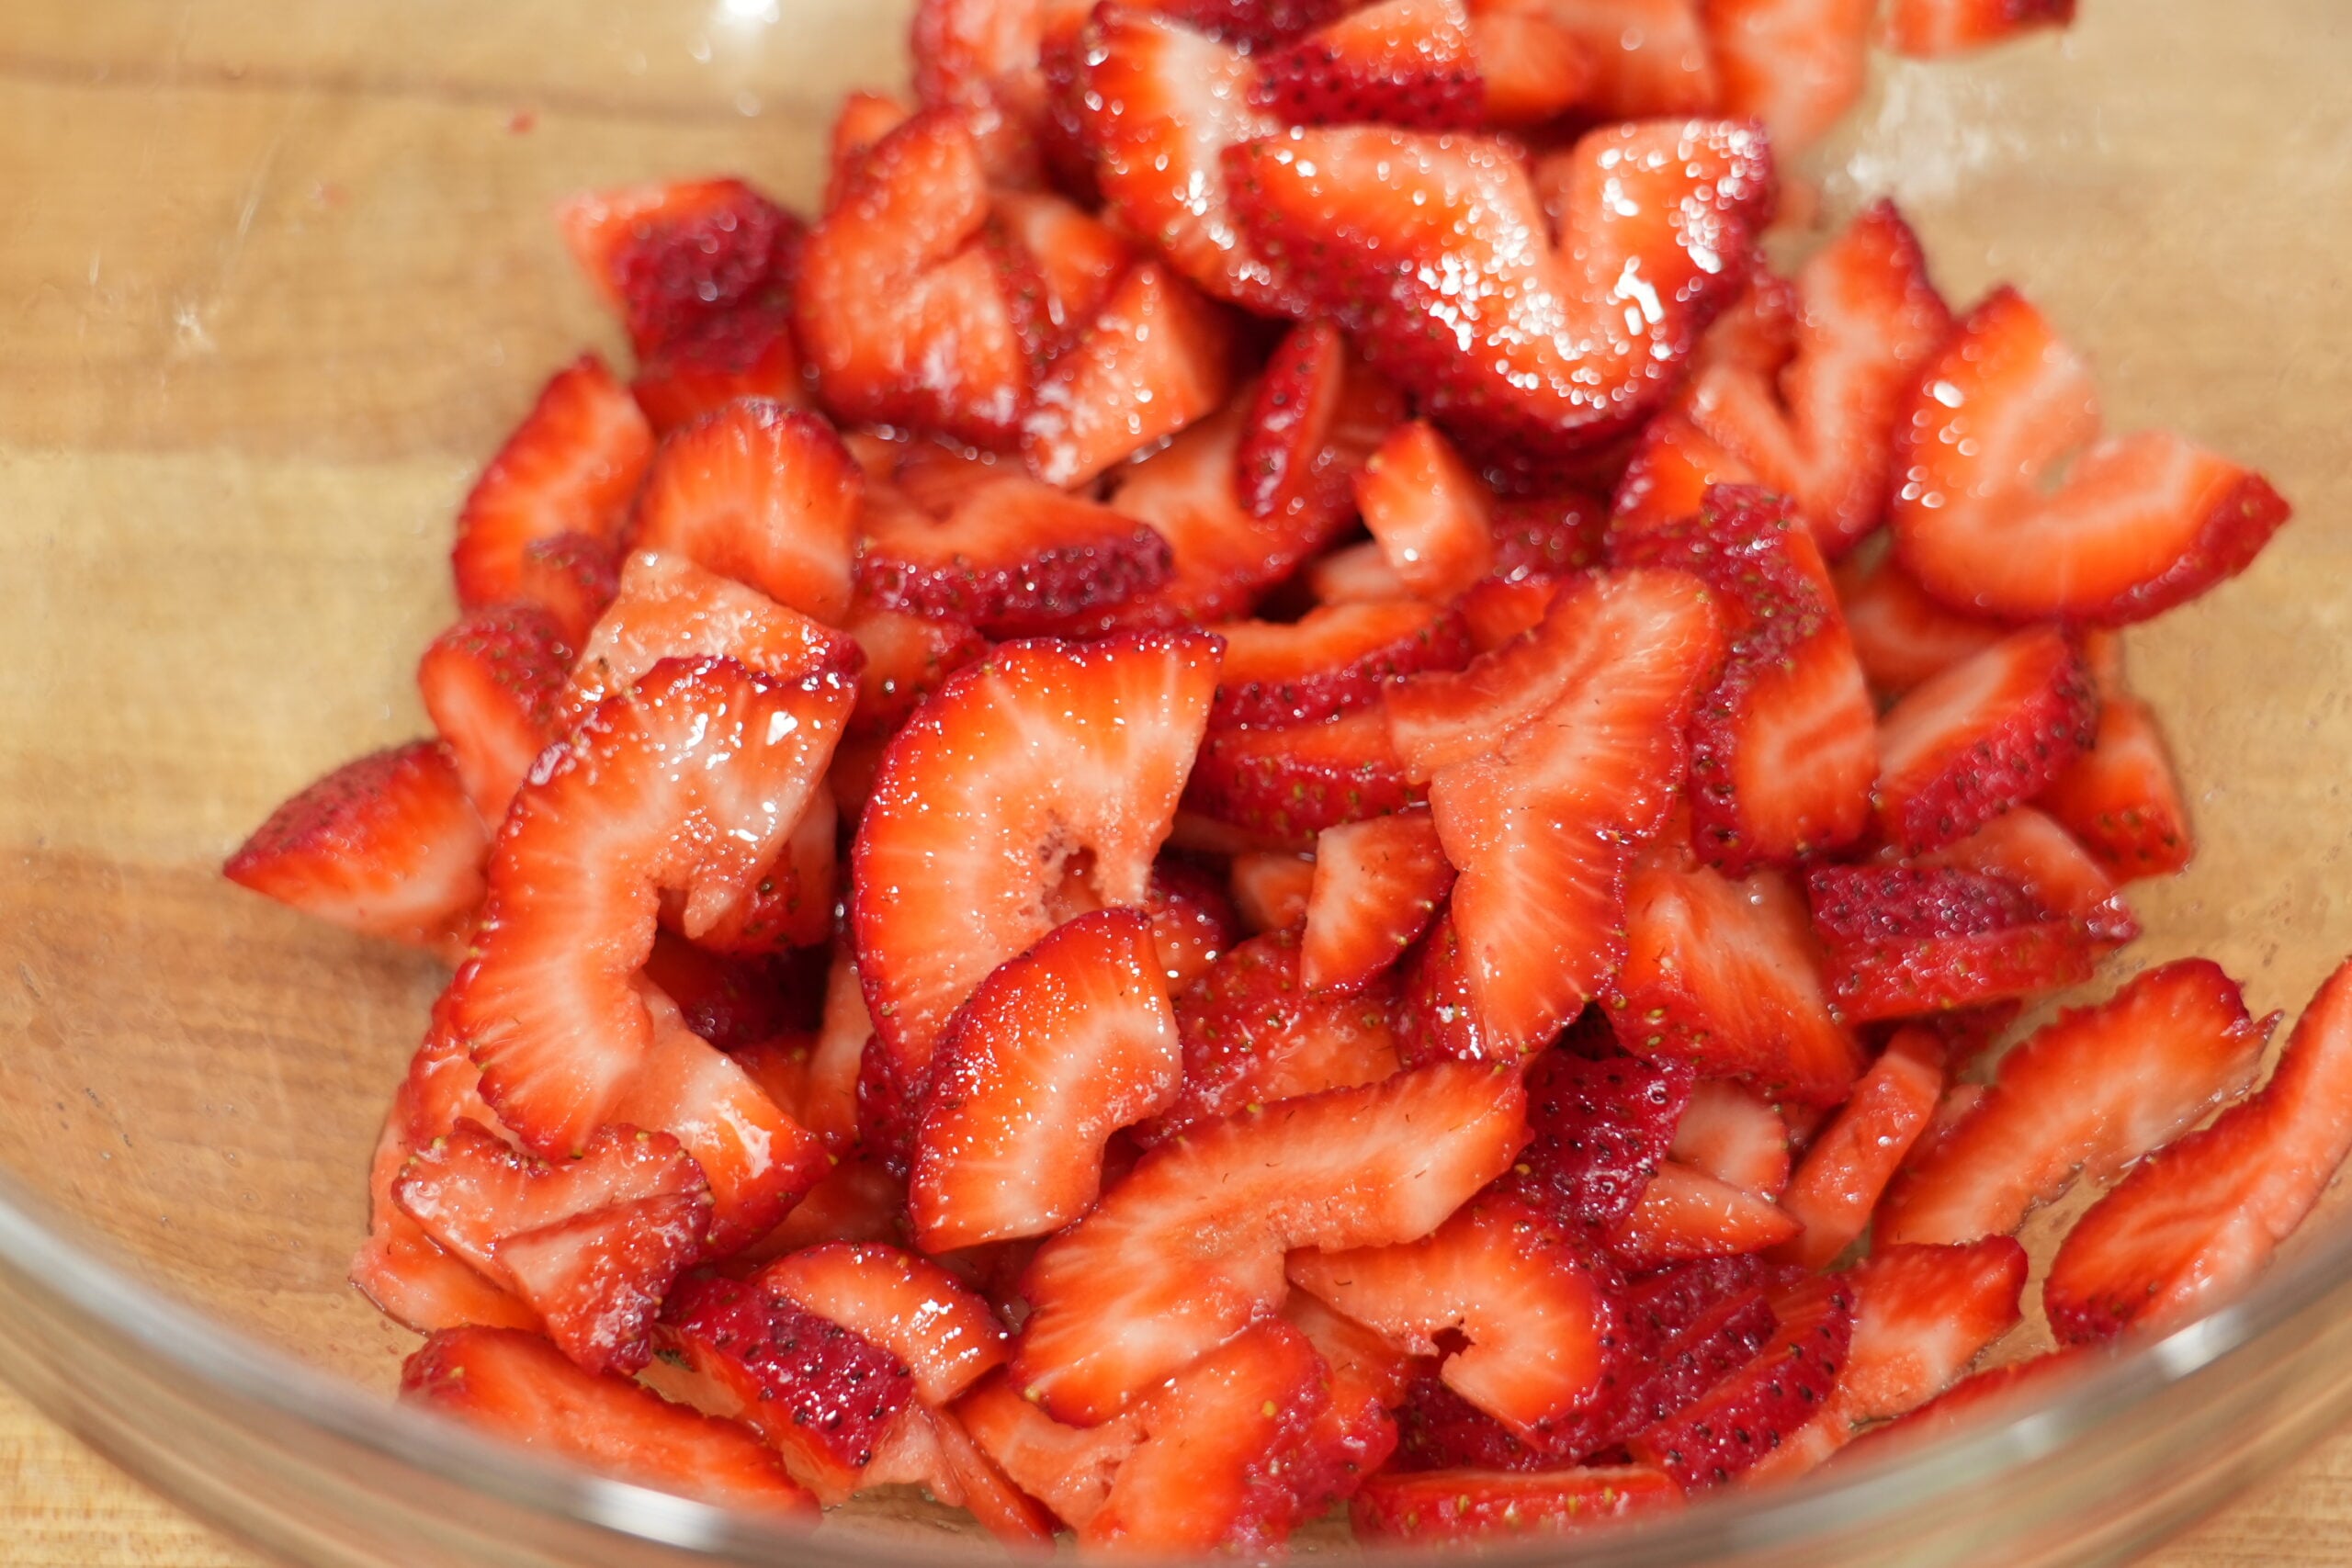
- In a mixing bowl, combine the sliced strawberries with 2 tablespoons of sugar.
- Stir well and let them sit for 15–20 minutes. The sugar will draw out their natural juices, making them extra glossy and sweet.
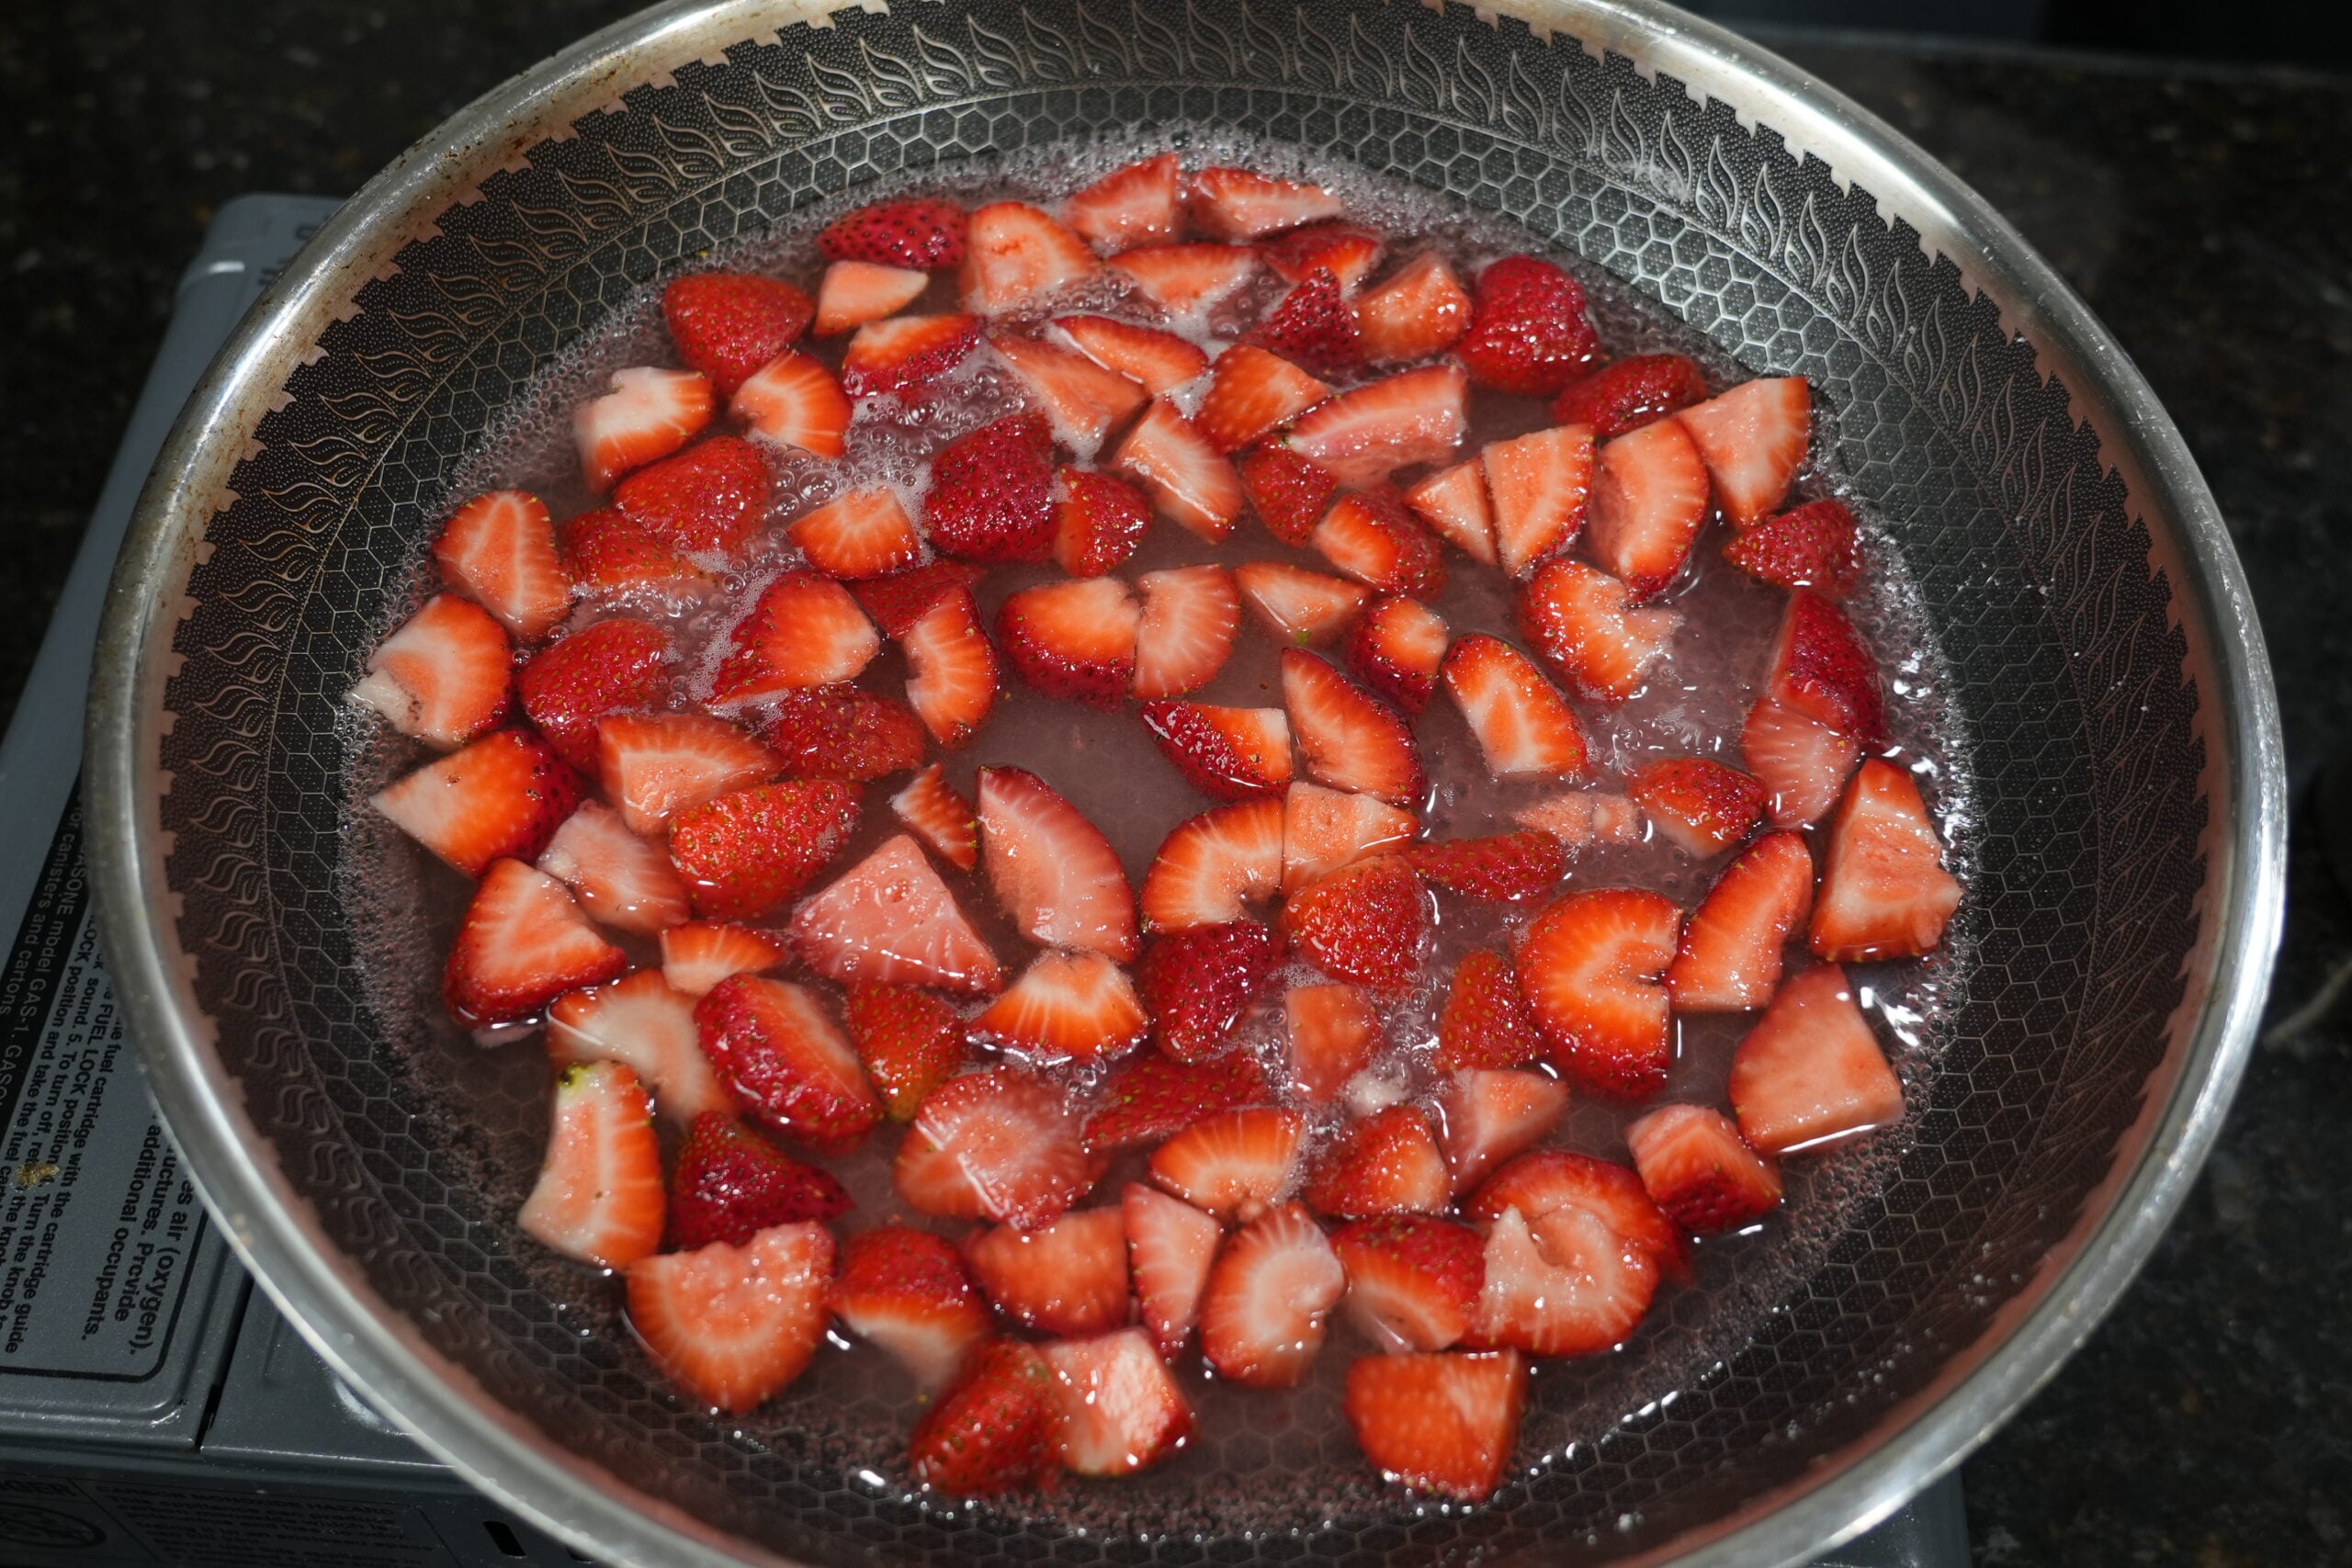
Step 2 – Make Strawberry Syrup
- Add the macerated strawberries to a skillet with 1 cup of sugar and ½ cup water.
- Simmer for 10 minutes, then blend until smooth.
- Strain to remove seeds and pour into a squeeze bottle or gravy pourer for drizzling.
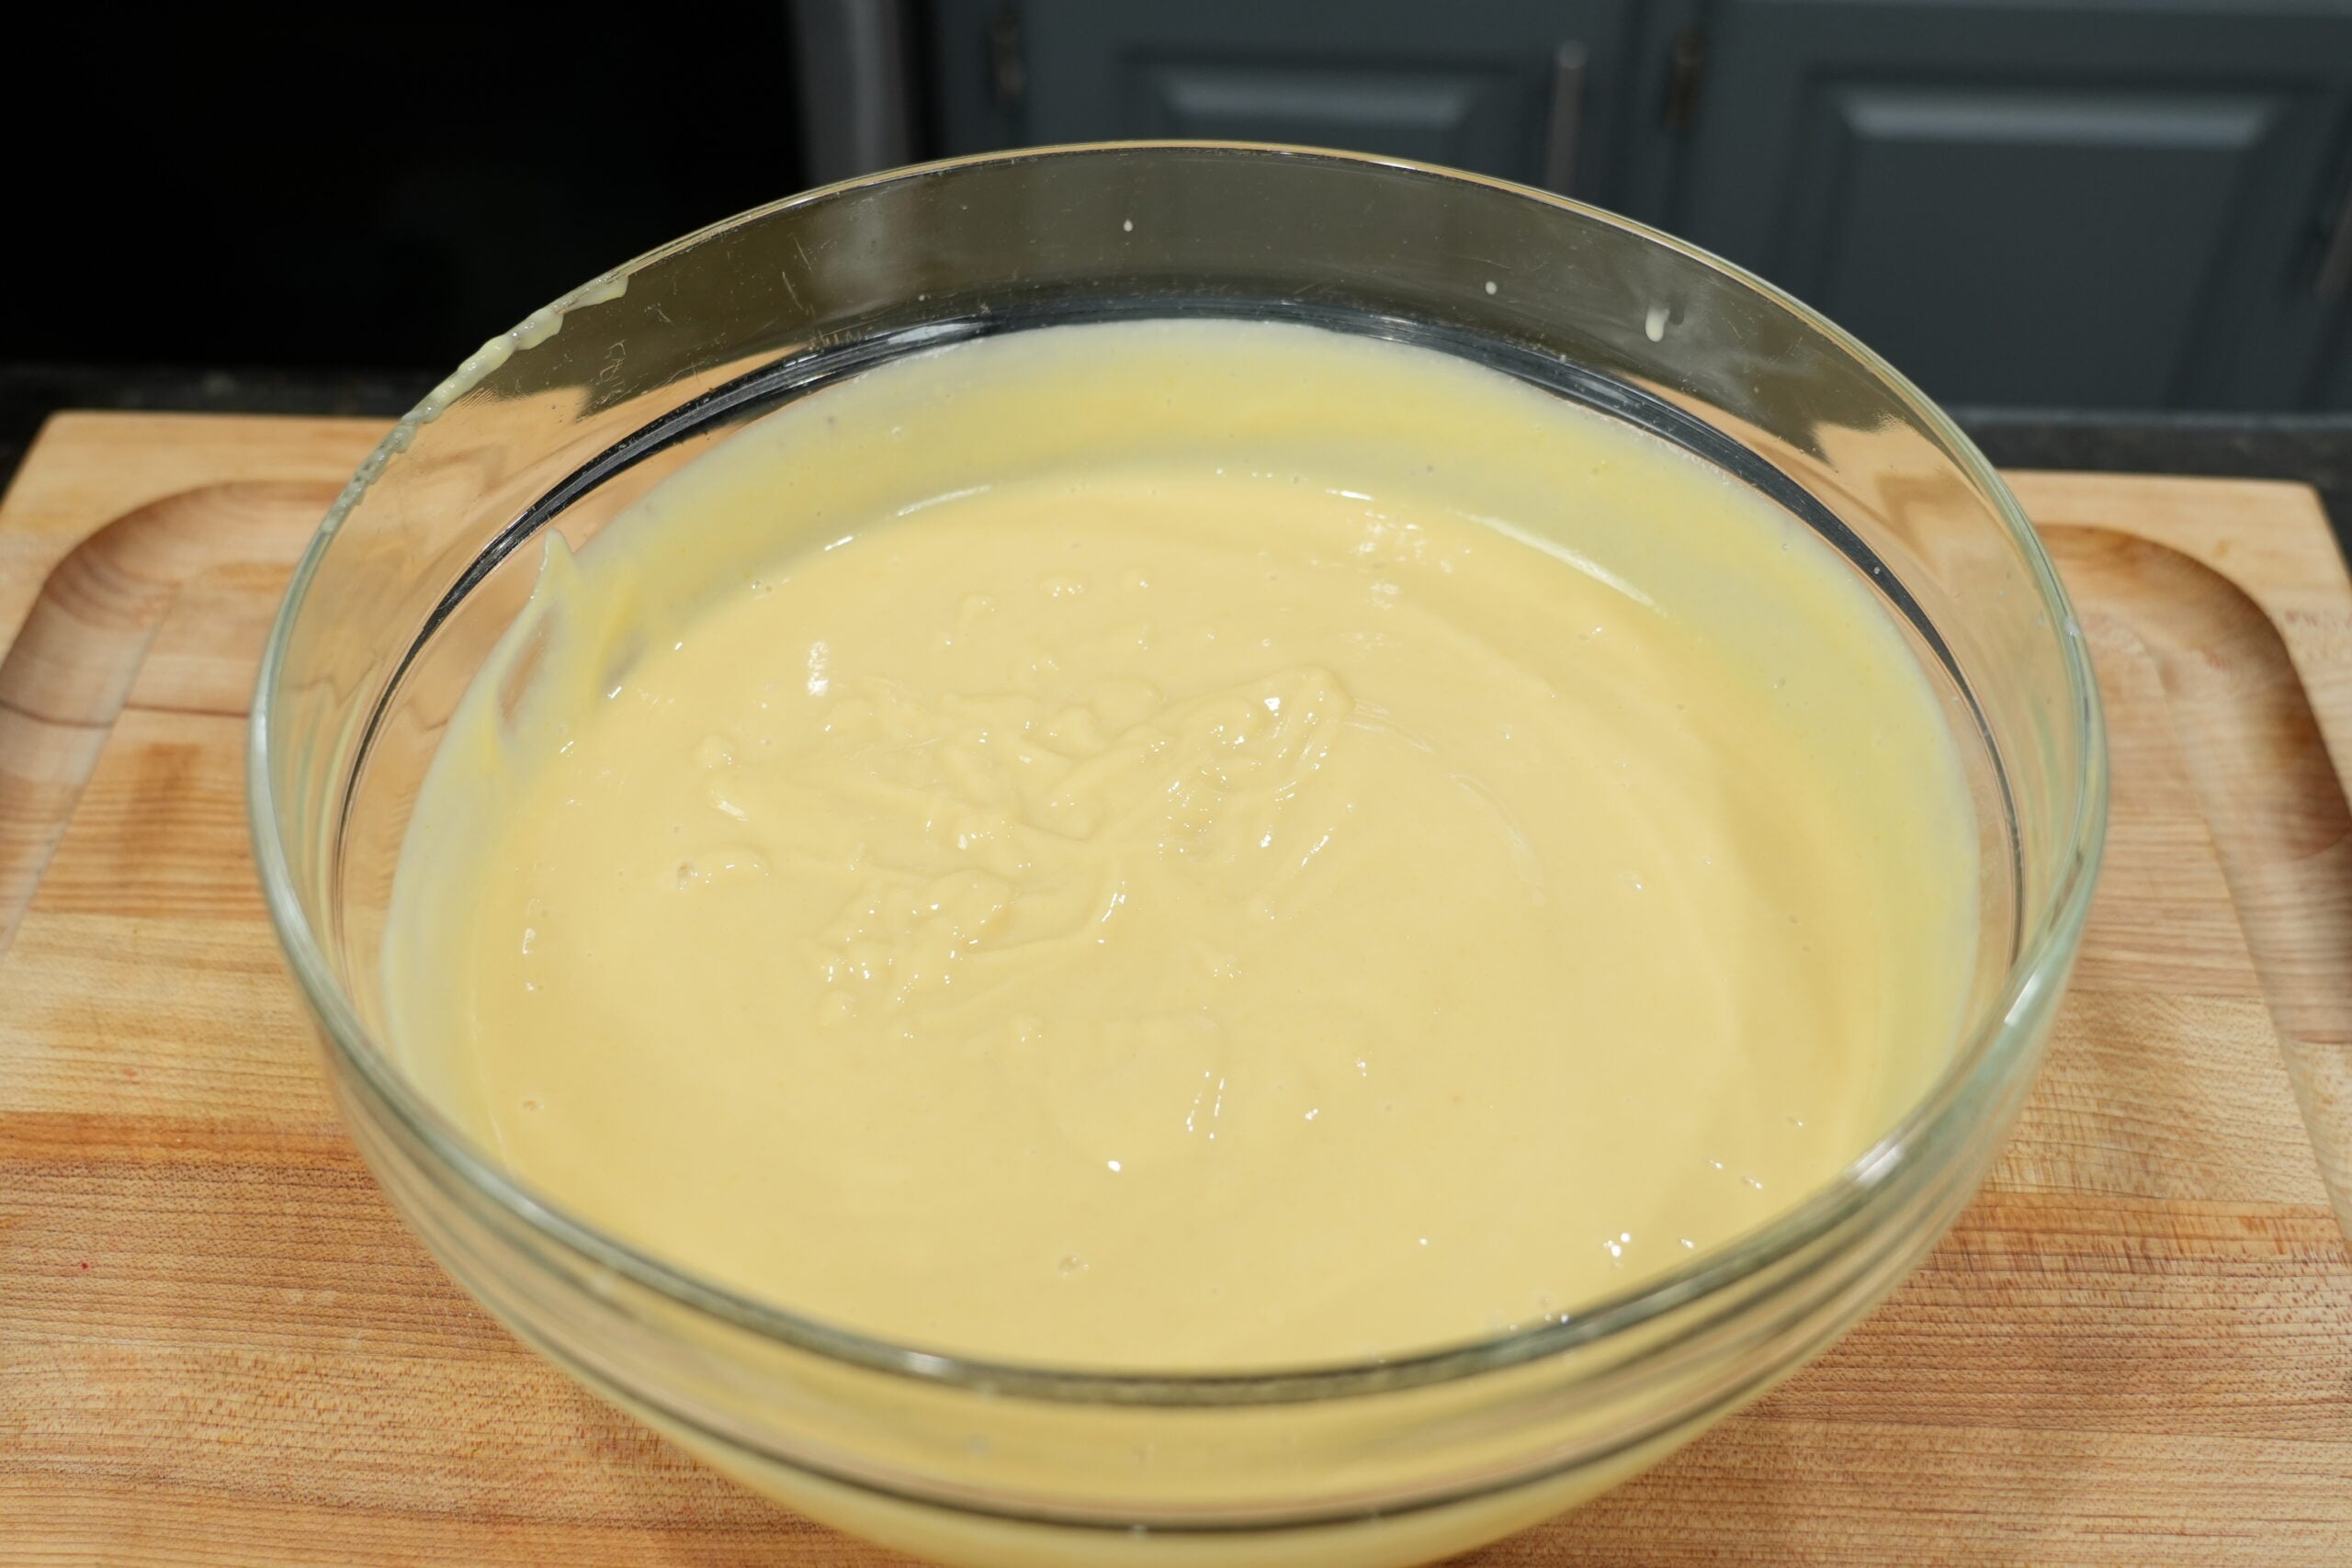
Step 3 – Prepare the Pudding
- In a large bowl, whisk together the instant vanilla pudding mix and cold milk.
- Let it sit for 5–10 minutes until thickened.
- Then, fold in the thawed Cool Whip and the can of sweetened condensed milk until smooth and fluffy.
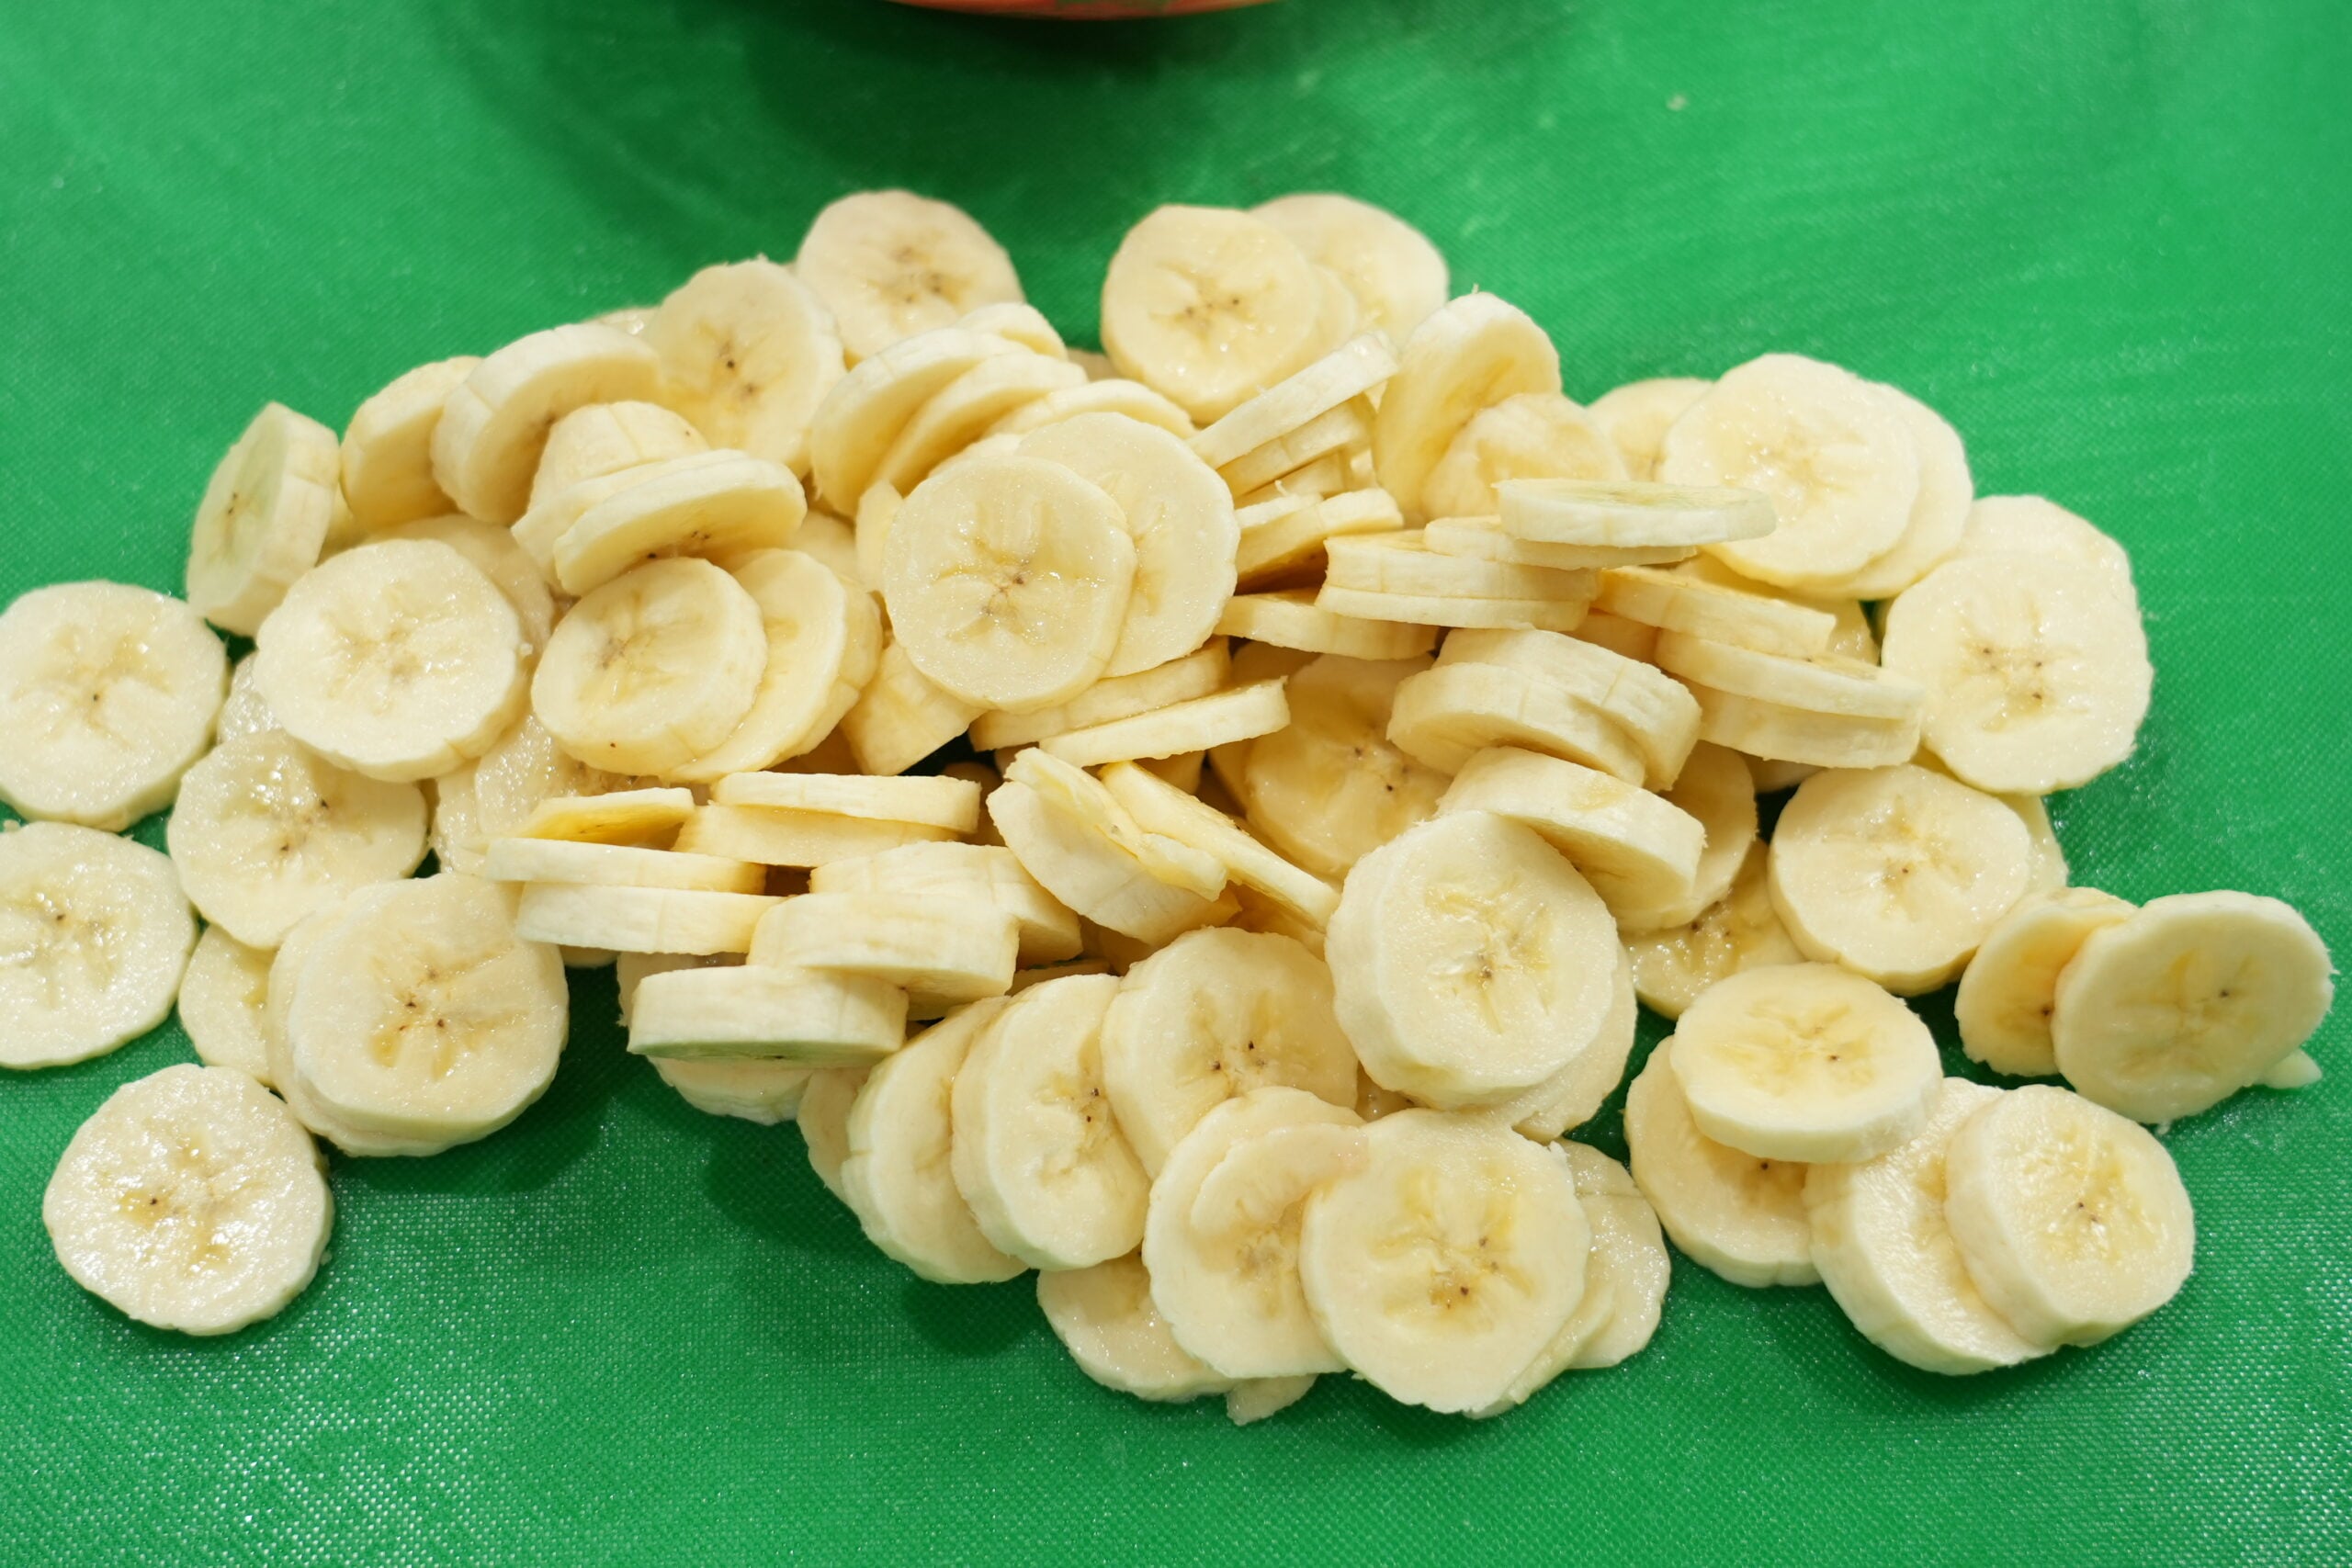
Step 4 – Slice the Bananas
- Peel and slice your bananas into rounds. Use ripe but firm bananas for the best flavor and texture.
Step 5 – Layer the Dessert
- In a casserole dish or trifle bowl, begin layering: Start with a layer of vanilla wafer cookies
- Add a layer of pudding mixture
- Follow with sliced bananas
- Add a layer of macerated strawberries
- Place a layer of Chessman cookies
- Drizzle with strawberry syrup
- Repeat until the dish is full
- Top it all off with extra strawberries, bananas, and crushed cookies for a pretty and tasty finish.
Step 6 – Chill
- Cover and refrigerate the pudding for at least 4 hours.
- Overnight chilling is best for the cookies to soften slightly and the flavors to fully meld together.
Notes
Storage Tips
- Store covered in the fridge for up to 3 days.
- For best texture, serve within the first 24–36 hours.
Leftovers disappear fast — plan on making a double batch for parties!Tips & Variations
- Add a touch of vanilla or almond extract to the pudding for more depth.
- Short on time? Skip macerating and use fresh berries plus strawberry syrup.
- Feeling fancy? Swirl in a spoonful of strawberry jam into the pudding layer.


Loved!!